People go to the botanical gardens and ooh and ahh over how beautiful and lush everything is; but most people have no idea what it takes to create that lush, beautiful look. One of the things it takes is water, lots of it.
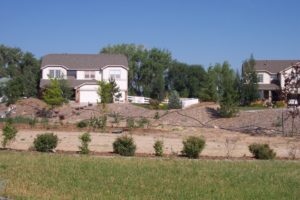
My garden is in what’s known as the Central Shortgrass Prairie. “The shortgrass prairie is an ecosystem located in the Great Plains of North America. The prairie includes lands to the west as far as the eastern foothills of the Rocky Mountains and extends east as far as Nebraska and north into Saskatchewan. The prairie stretches through parts of Alberta, Wyoming, Montana, North Dakota, South Dakota, and Kansas, and passes south through the high plains of Colorado, Oklahoma, Texas, and New Mexico. The prairie was formerly maintained by grazing pressure of American bison, which is the keystone species. ” (Wikipedia).
Shortgrass prairie has two basic types of soil, sandy and clay with multiple variations thereof; the prairie is more sandy the further east you go out of Colorado, and more clay towards the west edge of the grass lands. My house sits on that west edge of the grassland, so my soil is clay, heavy clay.
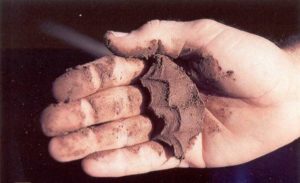
The technical term is loamy clay, but that just means that you can actually chop through it with a pick ax, and it’s not quite hard enough to make bricks out of.

There are ribbons of different clay percentages throughout my yard. We never know what to expect until we try to put a shovel in the ground.
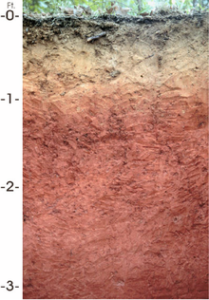
Some times we actually have to dig the planting hole with a pick ax; and sometimes, I can get down 2 or 3 ” (through the sandy/loamy layer) and then I need to fill the hole with water, (once I hit the clay layer) wait an hour or three for the water to soak in, and then dig another 2 or 3″. And then there’s the areas that seem to be mixed with gravel – definitely pick ax.
Anyway, I was talking about irrigation. Because the soil is clay, the water either runs off from around the plant, especially the ones planted on the berms, or the water pools around the crown and roots, because it takes a long time for the clay to suck up the water. Then the soil holds that water for a long time, which seems good, except that when it’s not holding water, it shrinks, desiccates and damages the root system, especially the little hairy roots that are actually the most important roots for water and nutrient uptake.
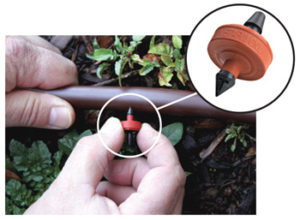
Every plant in my garden is on automatic drip system. Each plant gets 1 or more drippers (emitters) connected into the main 1/2″ poly pipe lines. Those are the black lines you can see crisscrossing the berm in the background of the top picture. After all the plants are connected to the 1/2″ line, the lines will be covered with mulch so you can’t see them and so they don’t heat and cool with the weather. The 1/2″ poly pipe is spaced through the middle of the area to be irrigated, then you need to attach the smaller spaghetti lines to the 1/2″ pipe and add the dripper to the end of the spaghetti line. The spaghetti line can be as long as needed.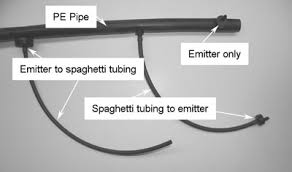
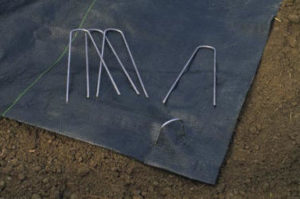
Then you pin the 1/2″ pipe down into the ground with landscaping pins, and sometimes you need to pin the spaghetti line down next to the plant as well so it doesn’t slip out of place. The individual drippers on the plants allow me to control how much water each plant gets. For example, on the main tree line, north berm, I have evergreen and deciduous trees on the same 1/2″ water line. The evergreens need more water than the deciduous trees so I put 2 gallon drippers on the evergreens and 1 gallon drippers on the deciduous; all on the same irrigation line. So if this irrigation line runs for 1/2 hour, I know that each 2 gallon dripper delivers 1 gallon of water to the evergreen trees and each 1 gallon dripper delivers 1/2 gallon of water to each deciduous tree. Depending on the size of the tree, I can calculate how much water the tree needs and add drippers to the 1/2″ line as the tree matures.
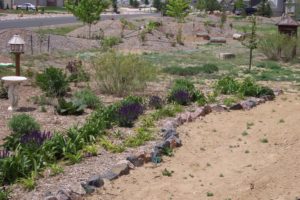
On the south berm, the 1/2″ water lines are feeding a combination of perennials, shrubs and trees.
In the center of the garden, one line feeds the Linden tree, the cupola willows and bulb garden, and the row of dwarf Alberta spruces.
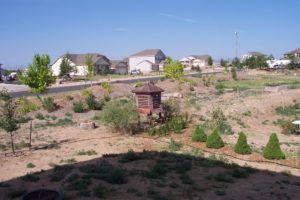
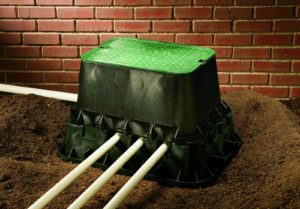
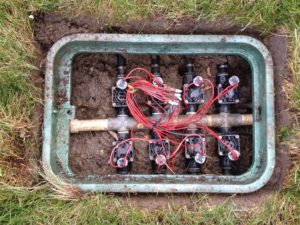
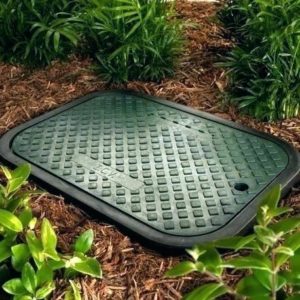
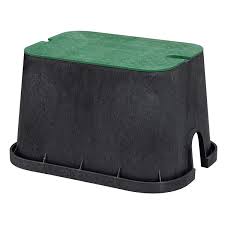
Each irrigation line, 1/2″ black poly pipe, is connected to a 2″ PVC main line. These main lines are connected into the valve boxes. Each valve box has up to 6 valves. We have 9 valve boxes installed throughout the garden, with 35 main lines operating from these 9 boxes. And yes, I have a chart that tells us what plants or section of the garden is being fed by which valve, and how long that valve runs for.
You can click on the link below to see what the watering schedule looks like, if you’re interested. But these are just some of the details that are going on behind the scenes in any large scale garden.