


An ongoing labor of love, creating sacred space


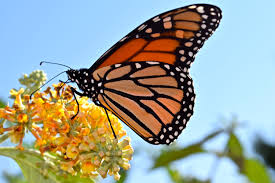 Among the flowers I dug out of my Aurora garden were Shasta daisies, coral sedum, maximillian sun flowers, bergamot, sunset hyssop and agastache. I knew the 12 or 15 pots of perennials I managed to divide from that garden, would not go far in my new garden in Brighton.
With 2 acres, I can plant 20 plants and you would hardly notice. But it was a start. I propped up a steel piano harp in the middle. I purchased 4 white pom pom bushes and placed them opposite the drainage trench. Eventually, I plan to put a pathway between the four shrubs, leading into the butterfly garden.
This is not the best picture, but looking to the northeast over the herb garden, you can see the beginnings of what will be a beautiful butterfly haven.

You can also see progress and growth of the oak, birch and Canadian red cherry trees in front of the north berm, and the Austrian black pines on top of the berm. This year we also purchased a couple of bristle cone pines. I planted some shrubs as well, but they’re small and it’s hard to see them.
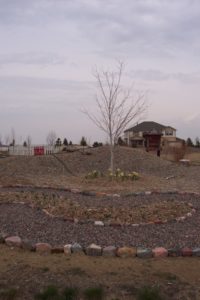
Daffodils and tulips
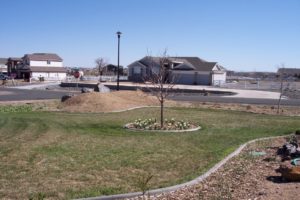
White tulips planted under the catalpa

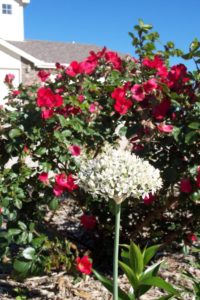
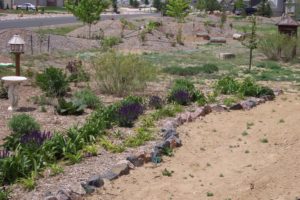
The willow garden is really coming along. I planted dwarf stella ‘d oro yellow daylilies at the edge of the rock border, and more of Aunt Judy’s giant orange day lilies behind those. Dark purple salvia, and Russian sage.
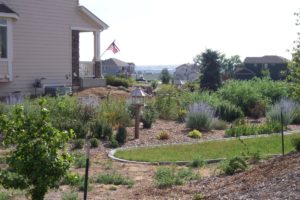
The 3 sand cherry shrubs are filling out nicely, and the willows have reached about 3 and a half feet tall. Brian bought a second bird feeder and I painted it to match the first one. I added Golden Spirea, mother’s wort and lovage herbs (because they are prolific and take up space), and two beds of my Mother’s yellow and white Iris.
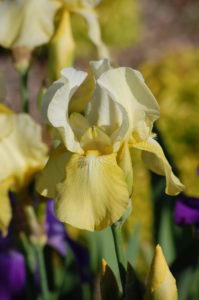
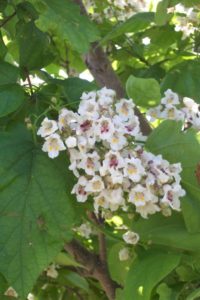
I have no idea what the name of this Iris is.
Anyone?
Aunt Judy’s day lilies – south bed
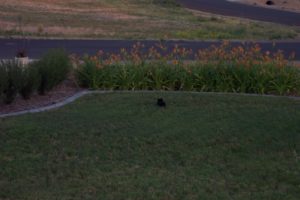
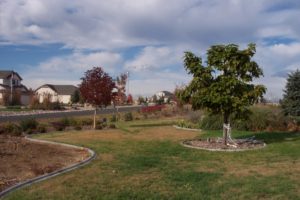
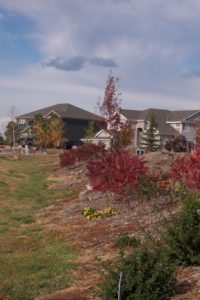
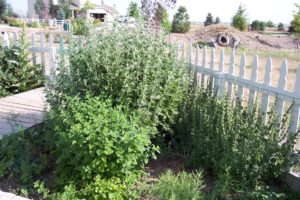
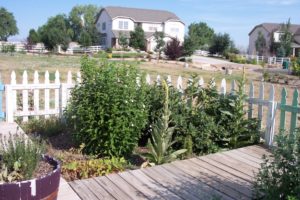
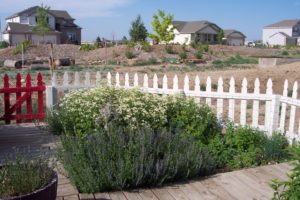
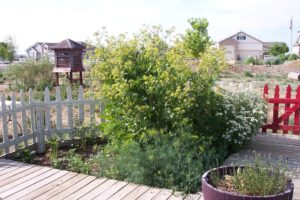
The Herb garden is really starting to fill out, and provide an abundant harvest! Soo many cool things to do with herbs. I’ll be busy in the basement this winter.
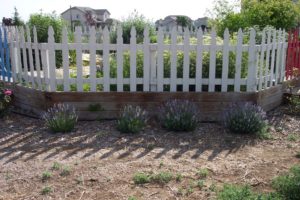
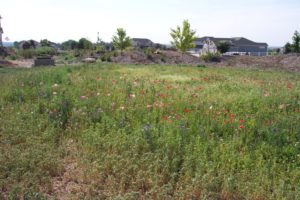
I’m slowly making my way from east to west in my garden design, but in the meantime, there’s a huge expanse of empty nothingness in between. Brian suggested we throw out some wildflower seed. At least there won’t be mud there! he said.
So we tilled up an area toward the end of the south west berm and re-leveled it. The Adams County extension office assured us that we didn’t need to amend the soil, so we decided to try it out. Just mix the seed with a little sand so you can throw it our more evenly. We threw out 15 lbs of rocky Mountain wildflower seed, and the results were beautiful.
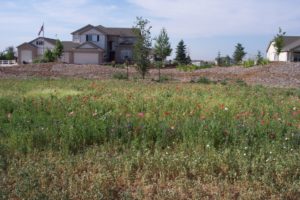
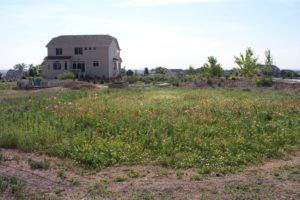
The flat area behind the front rock berm, and before you get to the beginning of the south berm, I call the “shoulder.” There’s also a North shoulder – of course there is you think. There is a straight on, unblocked view into the yard from the shoulders, so I’ve been waiting to find shrubs I like, at a price I like, to get the shoulders planted and create some privacy.
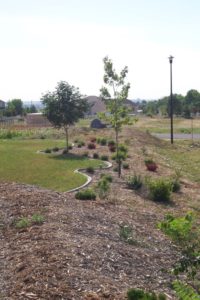
I planted red barberry, mock orange, deutzia, and nine bark to get it started. All along the edge of the concrete lawn border I planted Shirobana Spirea. I also planted the Shirobana along the North lawn concrete edging at the same time, and so that both lawns are edged in the same shrub. I needed 40 plants to get all the way around the edging on both sides; I found what I needed at Home Depot, $2.50 each for 1 gallon size pots. I had to go to 5 different Home Depot’s across the Denver Metro area to get all that I needed. But it was an amazing deal and I wasn’t going to pass it up.
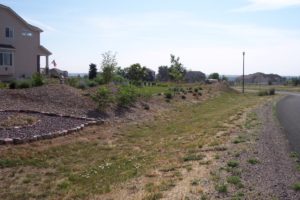
Long view of the south berm, from the street looking east past the noodle garden.
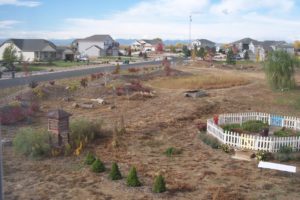
I got a call from Chris, the Dad of one of my piano students. He said Kyle seems to be allergic to the shrubs in the front yard; he has a sneezing attack every time he gets near them. Would I like to have them? He said they were little mini Christmas trees. So I drove over with the truck and a shovel to take a look at the mini Christmas trees, and lo and behold, a nice little row of 10 dwarf-Alberta spruce trees, about 2′ high. Woa!
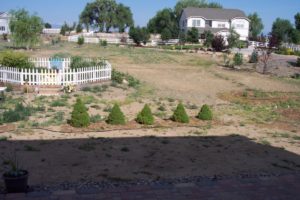
What a bonanza! These little babies are expensive at the nursery. I didn’t even know where I was going to plant them, I just knew they were coming home with me.
I dug the shovel into the ground and to my horror I heard the tell-tale sound of metal hitting rock. They had planted these little babies in 1/2″ gravel, and then added 1″ gravel on top as a mulch. O M G !
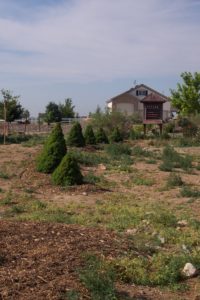
Taking a deep breath a started what I knew was going to be a grueling task, and it was! I managed to get 3 of them out in 3 hours, and had to call it a day. It took me the whole week to get these babies out of the gravel pit they were planted in, and re-planted in my back yard. But I got ’em! And they are beautiful and they were free!
When we bought our home in December of 2004, we literally had a house sitting in the middle of a clear field. Just dirt, all around. Correction, just CLAY, all around. Sticky, slippery clay.

As we began to develop the garden, just walking outside to work on the garden, or trying to get from one place to the other in the garden was a hassle. A trip out to the garden meant 5 or more minutes spent digging mud out of the treads of your shoes, while sitting on the front or back steps. Then leaving your shoes in a tray by the door to keep the floors clean inside. By the time I would walk from one end of the yard back to the house, I would have 2 or 3″ of sticky clay caked onto my boots. It was a nightmare.
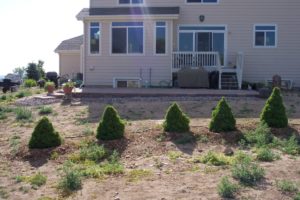
We finally decided to install a patio 1/2 of the width of the house, across the back. We were able to find a good deal on pave stones, but we had to pay full price for the large 18x6x3″ border stones.
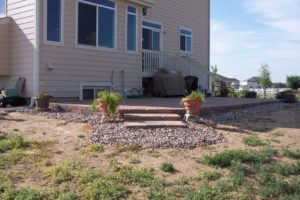
Now we have a clean, dry place to sit and enjoy the sunset with a glass of wine – and no mud.
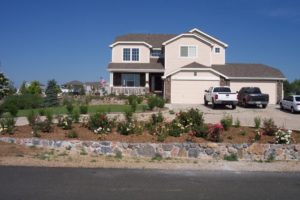
I have always wanted a rose garden, ever since I was a child. I remember seeing a rose garden in front of a big building. I don’t even remember what the building was, or where it was – I think I was 10? I’m just not sure. But I can still see that rose garden in my mind’s eye.

I found baby roses in 4″ pots, online from Heirloom Roses https://www.heirloomroses.com/ and Edmond’s Roses https://www.edmundsroses.com/ roses. I bought only “shrub” roses. No wimpy hybrid teas are going to make it out here in Brighton. We have winds out here that roll hot tubs down the street. Really. That happened last year.

So I bought 36 small roses in sunrise colors, yellow-orange-red-whites, spaced them out and planted them in the U shape garden between the privet hedges. (Add in: amend the soil, install irrigation to water the roses . . .) They grew so well the first year that they were taller than the baby hedges.
We built a retaining wall with mixed granite stones to hold the garden in place and delineate the border of the garden from the ditch in front.
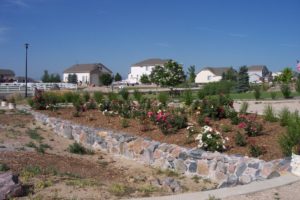
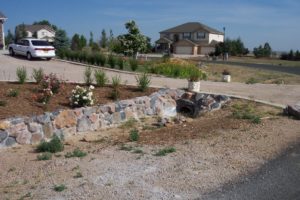
You can see the little privet hedges growing behind the roses, circling around the 1/2 moon shape of the driveway. I can’t wait for them to get bigger. I really want a formal look for the front yard.
People go to the botanical gardens and ooh and ahh over how beautiful and lush everything is; but most people have no idea what it takes to create that lush, beautiful look. One of the things it takes is water, lots of it.
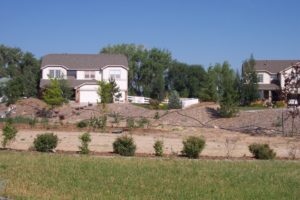
My garden is in what’s known as the Central Shortgrass Prairie. “The shortgrass prairie is an ecosystem located in the Great Plains of North America. The prairie includes lands to the west as far as the eastern foothills of the Rocky Mountains and extends east as far as Nebraska and north into Saskatchewan. The prairie stretches through parts of Alberta, Wyoming, Montana, North Dakota, South Dakota, and Kansas, and passes south through the high plains of Colorado, Oklahoma, Texas, and New Mexico. The prairie was formerly maintained by grazing pressure of American bison, which is the keystone species. ” (Wikipedia).
Shortgrass prairie has two basic types of soil, sandy and clay with multiple variations thereof; the prairie is more sandy the further east you go out of Colorado, and more clay towards the west edge of the grass lands. My house sits on that west edge of the grassland, so my soil is clay, heavy clay.
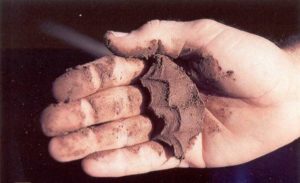
The technical term is loamy clay, but that just means that you can actually chop through it with a pick ax, and it’s not quite hard enough to make bricks out of.

There are ribbons of different clay percentages throughout my yard. We never know what to expect until we try to put a shovel in the ground.
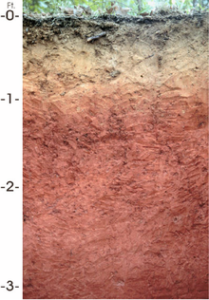
Some times we actually have to dig the planting hole with a pick ax; and sometimes, I can get down 2 or 3 ” (through the sandy/loamy layer) and then I need to fill the hole with water, (once I hit the clay layer) wait an hour or three for the water to soak in, and then dig another 2 or 3″. And then there’s the areas that seem to be mixed with gravel – definitely pick ax.
Anyway, I was talking about irrigation. Because the soil is clay, the water either runs off from around the plant, especially the ones planted on the berms, or the water pools around the crown and roots, because it takes a long time for the clay to suck up the water. Then the soil holds that water for a long time, which seems good, except that when it’s not holding water, it shrinks, desiccates and damages the root system, especially the little hairy roots that are actually the most important roots for water and nutrient uptake.
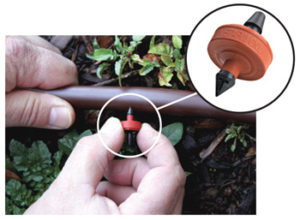
Every plant in my garden is on automatic drip system. Each plant gets 1 or more drippers (emitters) connected into the main 1/2″ poly pipe lines. Those are the black lines you can see crisscrossing the berm in the background of the top picture. After all the plants are connected to the 1/2″ line, the lines will be covered with mulch so you can’t see them and so they don’t heat and cool with the weather. The 1/2″ poly pipe is spaced through the middle of the area to be irrigated, then you need to attach the smaller spaghetti lines to the 1/2″ pipe and add the dripper to the end of the spaghetti line. The spaghetti line can be as long as needed.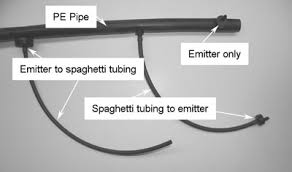
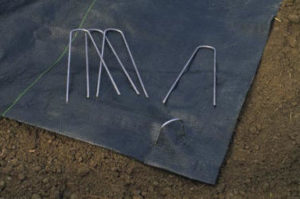
Then you pin the 1/2″ pipe down into the ground with landscaping pins, and sometimes you need to pin the spaghetti line down next to the plant as well so it doesn’t slip out of place. The individual drippers on the plants allow me to control how much water each plant gets. For example, on the main tree line, north berm, I have evergreen and deciduous trees on the same 1/2″ water line. The evergreens need more water than the deciduous trees so I put 2 gallon drippers on the evergreens and 1 gallon drippers on the deciduous; all on the same irrigation line. So if this irrigation line runs for 1/2 hour, I know that each 2 gallon dripper delivers 1 gallon of water to the evergreen trees and each 1 gallon dripper delivers 1/2 gallon of water to each deciduous tree. Depending on the size of the tree, I can calculate how much water the tree needs and add drippers to the 1/2″ line as the tree matures.

On the south berm, the 1/2″ water lines are feeding a combination of perennials, shrubs and trees.
In the center of the garden, one line feeds the Linden tree, the cupola willows and bulb garden, and the row of dwarf Alberta spruces.
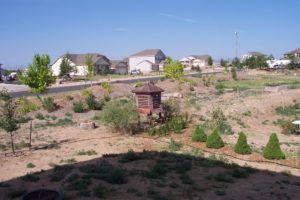
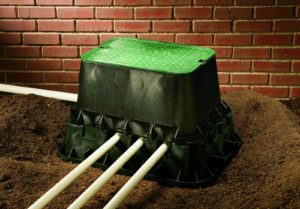
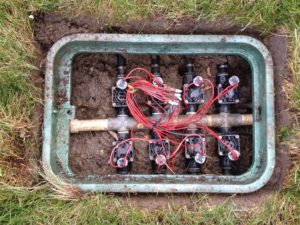
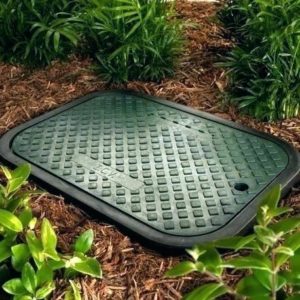
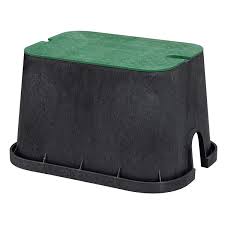
Each irrigation line, 1/2″ black poly pipe, is connected to a 2″ PVC main line. These main lines are connected into the valve boxes. Each valve box has up to 6 valves. We have 9 valve boxes installed throughout the garden, with 35 main lines operating from these 9 boxes. And yes, I have a chart that tells us what plants or section of the garden is being fed by which valve, and how long that valve runs for.
You can click on the link below to see what the watering schedule looks like, if you’re interested. But these are just some of the details that are going on behind the scenes in any large scale garden.