In the Beginning . . . we need a driveway!

We purchased our home in Brighton 12-30-2004.   I couldn’t wait for spring so I could get started with building my garden.  It took 6 months to build the house (Morrison Homes in case anyone cares – they were great to work with).  And during that time I generated an initial garden plan.  I had it mapped out in my mind, and on paper, what I wanted to do with the space, what would go in the east, south, west and north of the garden, where the driveway would be, what would be lawn, what would be garden, where the largest anchoring trees would go, and how the boundaries would be marked and warded.

The plan has changed some as time has passed, but the basic bones of the plan remain in tact.  Time, money, nature and happenstance all come to the drawing board.  So here we go, from the ground up!

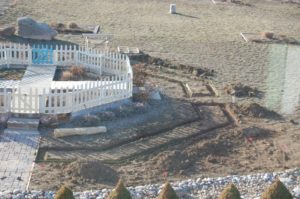
Brian had the time of his life playing with all the heavy equipment we had to bring in to do the initial land shaping.  He leveled and shaped the area which would be the 1/2 moon driveway, and cleared and screened the areas to the north and south of what would be the lawn area.
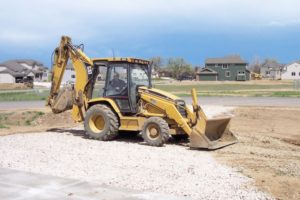
First step, shape the ground.
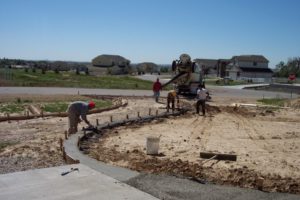
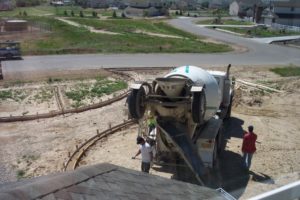
framing and pouring concrete

Next the driveway was designed and laid out by Brian.  The dimensions were determined by me to be in multiples of 4′.  4 is the numerological identity of the property, so as much as is possible, everything in the design is based around the number 4.  Thus, the driveway is 12′ wide at the tight ends where it meets the culverts, and 24′ wide at the widest part where it opens up to the garages.

The framing was laid out and the concrete poured.  The builder is only required to pour a parking pad (concrete directly in front of the garages) and a narrow path from the driveway to the steps leading up to the front door.  In our case, this created a narrow, and very sharp corner to navigate; not to mention – ugly, bad feng shui, non-functional future landscaping.
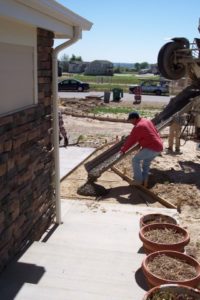
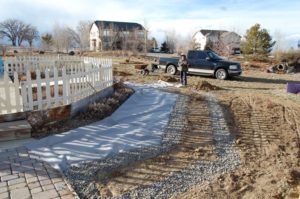
Connecting the driveway to the front steps

I could go on.  I drive around the neighborhood and see soo many of my neighbors who’s houses still have this original, contractor limited design.  Shudder.
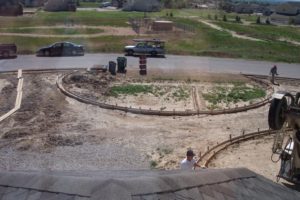
Driveway framing


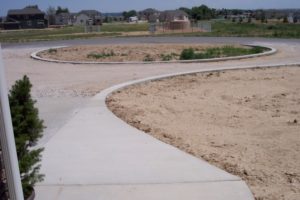
Added the curved section of concrete to gracefully connect the driveway with the front steps.
Shaping the edges of the driveway


Over time, we laid down 90 tons of gravel aggregate in the driveway to compact and stabilize the soil.

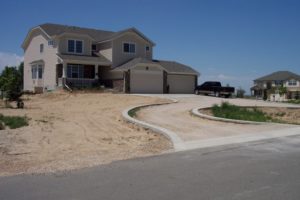
Completed driveway edging
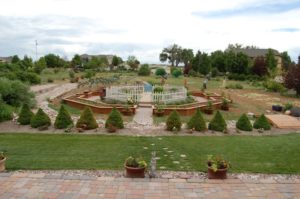
driveway
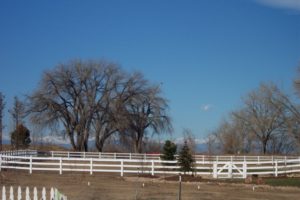
View from the front steps

Adventures in canning

Yes, of course, I can.  I have a vegetable garden, an herb garden and an orchard.  How would it be that I wouldn’t can some of my beautiful bounty?!  Besides, I was raised Mormon, and in southern California.  We canned everything!  It was the responsibility of every household to have a two year supply of food.

 What we didn’t grow in our own garden (Mom did all the planting), we gleened from the fields after the harvesters went through.  I remember going through the fields to pick potatoes, tomatoes, strawberries, peas, onions, carrots . . .  Then we would go to the LDS storehouse and unload fruit off the trucks.  I especially remember the apricots we helped to process one year.  They would get poured out of boxes from the trucks and spilled onto the end of a conveyor system.  We were all spread out from the beginning of the conveyor to the end.  Some of us picking out rotten apricots, some of us splitting them in halves, others pulling out the pits, and then finally others turning them all cut side up and sweeping them into a box where they would go into the warehouse and magically come out in Deseret Industries cans of “Canned Apricot Halves.”
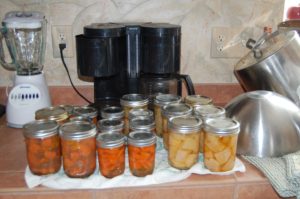
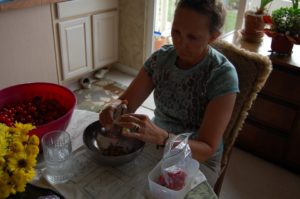
My fingers were so sore and raw from digging out pits that day, but we took home cases of apricots and other fruits as our share of the harvest, for working at the warehouse.  Our family also went to the local apple and peach orchards and picked fruit.  I remember climbing the big apple trees and shaking the branches, my sisters running around under the trees picking the apples up off the ground.

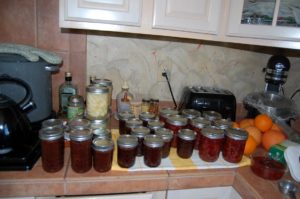
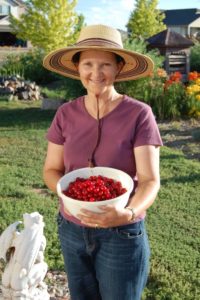
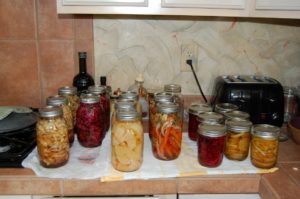
Good times and memories.  Results of my first harvest:

Carrots, red and white beets, pickled cabbage
more carrots and turnips
Carrots and turnips
Pitting and freezing sour cherries


Jam, mincemeat, and beets

I also put up a case of pumpkin soup, loads of pickled cucumbers, green beans, and I froze tons of kale and chard.  As I am posting this in 2019, I don’t remember everything I harvested or canned that year, but thankfully, I had some photos.  But it was a bountiful year, and a very successful first harvest.  Mom was proud.

The Orchard 2014

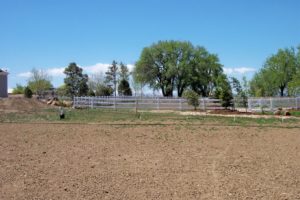
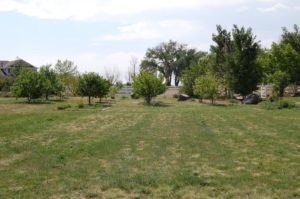
The orchard was planted in 2006.  12 trees, all little ones, less than an inch in caliber.  Look hard . . .

The baby trees are growing, doing their best. still less than an inch caliber
Baby trees, that’s an eagle in the large cottonwood in the background!


2009, the trees are finally beginning to look like trees.  No fruit yet.

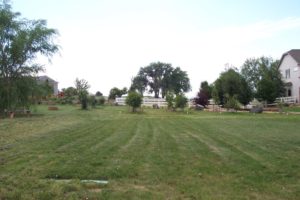
Orchard, looking west, 2009.

2010 – Sour Cherries!

Orchard 2010
First cherries


The orchard finally looks like an orchard.  I’m soo proud of myself for getting all the rows perfect.  You can see the straight lines from all angles.  tee hee hee!

Orchard 2013
Orchard in bloom, 2014


The orchard finally produced a good quantity of fruit in the summer of 2014.  The trees had been large enough to produce fruit since about 2012, but every year the flower buds got frozen by untimely spring frosts.  It’s disheartening to watch, but I don’t have a way of covering the trees or providing heaters in the orchard like large California growers do.  I remember visiting the Orange groves in California when I was a child.  You could see the rows of propane heaters set up in the intersections between each group of 4 trees.  OMG – I can’t imagine what that costs.  So finally, fruit in 2014!

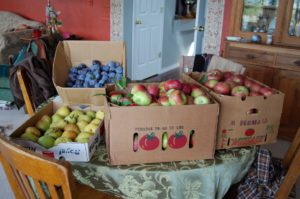
Fruit harvest 2014. Apple, pear, cherries were harvested earlier. The plums were harvested from a friends tree.


First Harvest

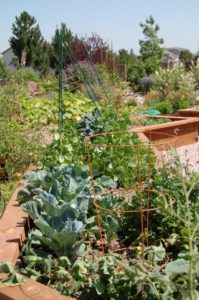
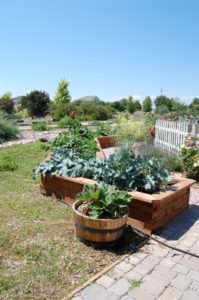
Vegetables galore.  First lesson in vege gardening:  ruthlessness!  You must thin the seedlings.  I didn’t, I just couldn’t pull those little babies out of the ground after they did all that work sprouting and pushing up through the dirt.  BIG mistake.  I had vegetables on top of each other, carrots growing sideways underneath each other, I couldn’t keep up with the kale and arugula, and the beets took over twice as much space as I had given them as they just spread out when they needed to.  It was such glorious chaos!

North/west bed
South/west bed

I just love all the different colors and textures of vegetable plants!

Who knew they would be so beautiful.


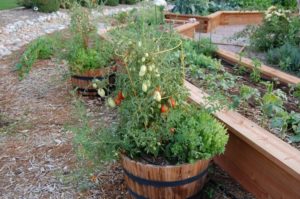
Tomato buckets

I planted tomatoes in buckets and spaced them around the outside edges of the main beds.  They grow too tall and putting them in the main beds would mean I need a ladder to get to them.  I also thought they look nice in the buckets as accents around the outer edge of the larger beds.

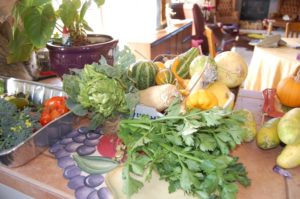
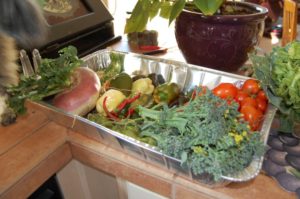
first harvest
first harvest
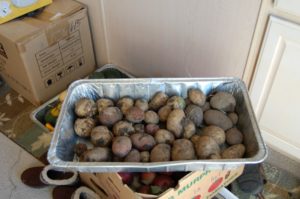
potatoes
potato cages


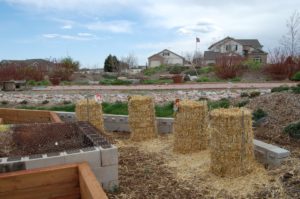
I grew the potatoes in round cages, made of chicken wire.  I placed layers of soil, potato buds, straw, soil, potato buds, straw etc. and then watered well.  The potatoes grew up through the top and out the sides of the cages.  The best part was untying the cages and letting all the soil and straw fall out along with the potatoes.  VERY easy to harvest.  Then I just gathered up all the used soil and straw and added it to the compost pile.

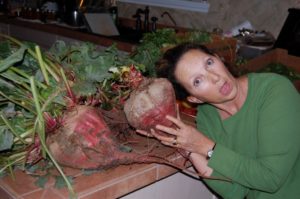
Monster beets

These beets were harvested in November, found hiding under some arugula.  I did say they spread out and took over!  Of course, they were too big and woody to eat, but they were fun to share pics of.


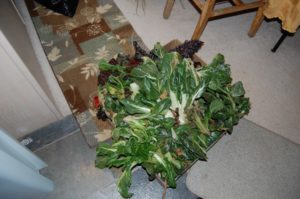
greens, lettuce, bok choy, chard, cabbage, purple and green kale

Tons of carrots and greens.

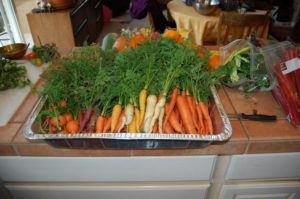
rainbow carrots


Vegetable Garden


In early spring of 2014 I decided to take on vegetable gardening.  I was really scared I wouldn’t be able to figure out how to grow vegetables.  It all seemed very daunting.  And there was this weird sense of responsibility.  Like, what if all the seeds died?  I killed food?  It’s one thing to kill a flower, but to kill food?

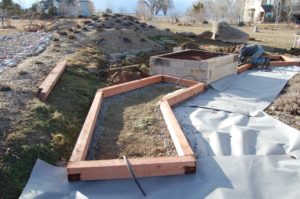
digging the foundation trench, and adding gravel
Adding weed barrier for what will be the walkway between the herb garden and the vege raised beds


Food plants are special.   They hold the energy of life in them in a different way from flowers, or shrubs and trees.  I could feel that energy when I went to the store to buy the seeds, and held the seed package in my hands.  “Plant me,” they said, “I will feed you.”
First row installed. the hose sticking out the end is actually irrigation pipe, which is being laid into the beds as they are built

While we were building the vegetable beds, I was organizing the seeds, reading my books and figuring out which seeds want to be planted next to which other seeds.  When to plant the seeds, how deep to plant the seeds, how far apart.  OMG – this seems really complicated!

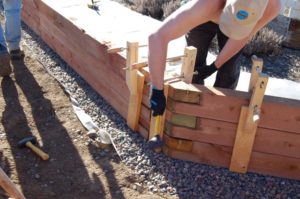
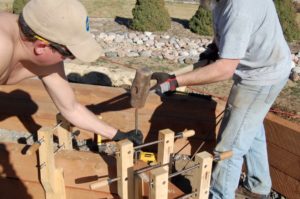
Meanwhile, Brian and Jester are busy doing the hard work of drilling holes in the bed joints, all the way down to the ground, and then securing the joint with clamps and pounding the 3/8″ rebar through the holes and 12″ into the ground below.  The boxes are made with 3 levels high of 6×6 cedar.  These walls are NOT going to move.

Brian, making sure everything is level and plum
Brian and Jester clamping and pounding in the rebar.


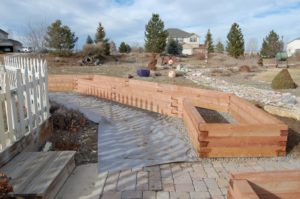
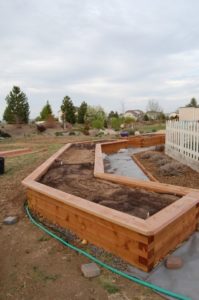
Finished beds.

Completed bed
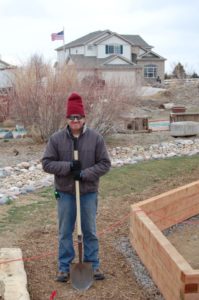
Brian, looking like a garden gnome


I had to post this picture of Brian.  I saw him standing there taking a break and nearly fell over laughing.  So I made him pose for a picture.  He’s now my official garden gnome.

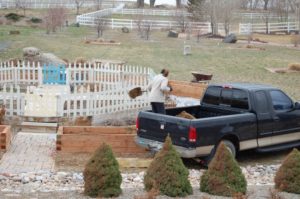
Filling the beds was back breaking work.  6 pickup truck loads of soil for each of the three beds.  I did one bed per day.

adding soil
Soil is in!


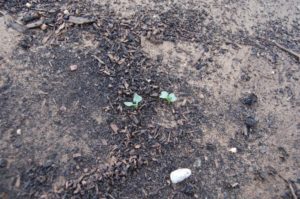
first seedlings sprouting – soo excited!


I was both excited and scared to death when the first seedlings popped up.  They’re growing!  they’re actually growing!  Believe it or not, I have never grown anything from a seed.  I buy all my plants from the store, or get them from a friend, already growing in pots.  So this whole vegetable garden thing took all my courage.  What was I going to tell my husband if I couldn’t figure out how to grow vegetables after all the work he and Jester put into building this glorious garden?!?  And how could I consider myself a gardener if I couldn’t grow something from seed?  My whole gardening persona was on the line.  But after much helicoptering, blessings, chanting, finger crossing, covering and uncovering the seedlings through the early frost period (up through May), they actually grew.

all the beds are done, planted and seeds are growing. We added 6 ground level beds to the north to plant squash, pumpkins and gourds.

Joy and Sorrow

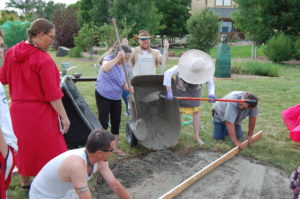
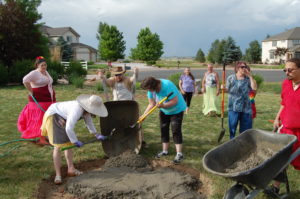
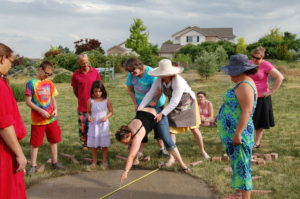
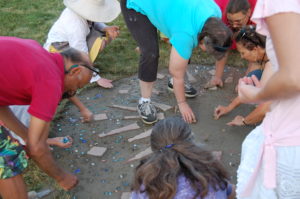
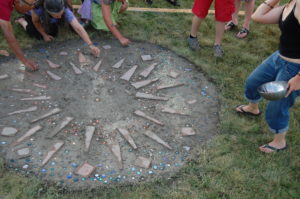
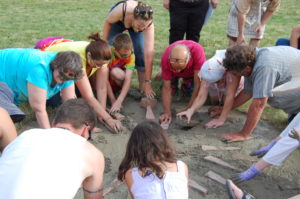
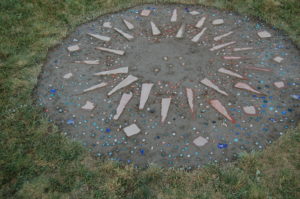
For our 2014 summer solstice celebration, we created a large sun dial in the center of the dragon garden.  It’s a 6′ diameter circle of concrete, with sun ray shaped pieces of red flagstone (which I got for free from the scrap bin at Bedrock Landscaping), blue glass bubbles to create the sky around the sun, and coins and trinkets which were brought by those who worked on the project.


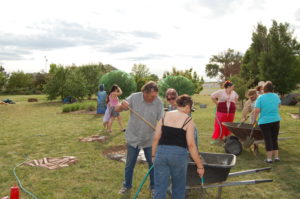
The process of mixing, pouring and leveling the concrete was really intense.  even with close to 20 people helping it took us two hours or really fast-paced work.

Finding the center – don’t let me fall in!
Adding the blue glass bubbles to make the sky


We had to press the flagstone pieces in with our feet and event a rubber mallet.

Adding the personal trinkets brought by each person who helped on this project: coins, jewels, necklaces, shells, and other special stones.
Placing the sun’s rays! All together now, and push them in, push! (This was actually really hard, we had to beat them in with rubber mallets.)


Many wonderful rituals have been held in this space, using the sun dial as the center altar.

Ta Da! Hoping it dries evenly and doesn’t crack.
Spring 2016


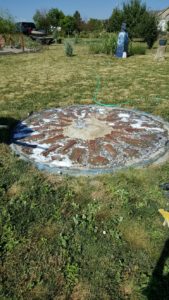
Over time though, the glass bubble beads kept popping off.  I glued them back a couple of times and then I decided to try to find some way to seal the entire surface so it would last longer and not loose it’s smaller pieces.  I thought the sealer would also help to reduce some of the unevenness between the stones.

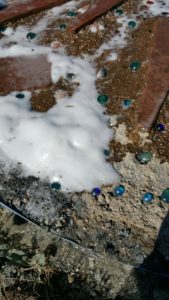
I found a solution which is used to make pavement out of gravel.  It forms a hard, clear, smooth surface.  I thought this would be perfect!  Not so much.  As you can see from the picture, it bubbled and turned into a 1/2″ think foaming, sticky topping like marshmallow.

the foamy, marshmallowy goo which bubbled up from between the stones when I applied the sealer. AHHH!

After 6 hours of trying to scrape it off, over a three day period, I had to give up and then deal with my defeat, and the destruction of this very special feature in the garden.

Covered in sticky foamy goo


After hours of digging and scraping.


All the love and energy of all those who worked on creating this piece; all the love and energy of all those who have stood on it during ritual, sat on it under the dark sky and meditated; danced around it in joy and laughter – gone.

In my sorrow and my anger at myself, I took to it with a sledge hammer.  Well, I got in about 3 strikes before I realized that this 5″ of concrete is not coming out under the strength of one small woman, no matter how determined or pissed off.  I had to hire someone to jackhammer it out.  OMG – what an un-ceremonial end.

The sun dial was eventually replaced by a plain slab of concrete.  I may get around to painting it.  I need to forgive myself first.


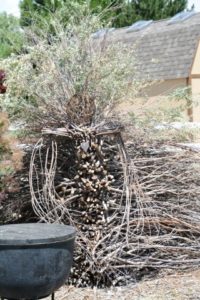
Willow Woman – phase 2, completion

I began this project in March of 2016.  (see post in this blog)  I got inspired by a facebook post of a garden sculpture made of willow branches, and immediately enrolled my good husband and my good friends D and Bear into helping me create her.

Willow Woman sculpture, completed summer 2018.

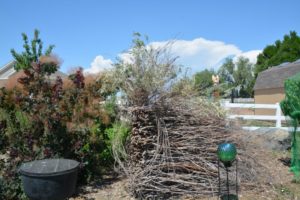
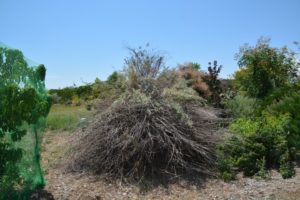
After running out of branches in 2016, I once again harvest the dead branches and trimmed back some more branches from my willows and hauled them out back to dry.  I also got my large garden cart and went out back to the reservoir and cut down willows around the pond (leaving plenty behind for the local wildlife).

Waiting for things to dry . . . .

2017 I  added another 2′ in height to the Willow woman’s skirt, and then started the whole process of finding, cutting and drying willow branches again.

2018 – Completion!  I have finally harvested enough willow branches from the pond and from my own willow stands to finish the willow woman.  Thank the Gods!  Because I am SO over this project.  For 2 years, it looked like a giant pile of brush, the piles got int he way of other yard projects and in the way of mowing, and Brian was complaining about them, and . . .

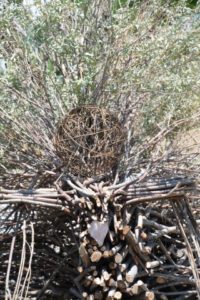
But I think she turned out lovely.  I gave her a heart of pink rose quartz, a magic ball to scry into (it lights up at night), and a beautiful 30″ cast iron cauldron, which was given to me and my husband by his Aunt Judy from Missouri. She stands about 7′ high in the front and 5′ high in the back.

Willow Woman closeup
Willow Woman, with her scrying ball and cauldron
Willow Woman, from the back.

The Stag God

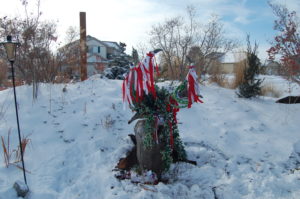
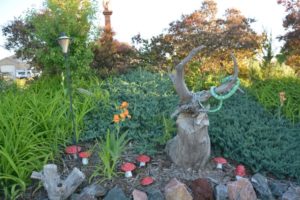
The Stag God, God of fertility and protection.

2016-2018    My good friend Jackie Weller is selling her beloved home of over 30 years.  She has bought herself a more manageable townhome for her retirement.  Summer of 2016 she gifted me this magnificent horned/antler-shaped piece of wood which has stood guard on a stone at the front of her garden for a very long time.  It represents the energy of the sun, protection of the home front, and the energy of fertility and virility of the stag, as demonstrated by his tall, erect antlers.

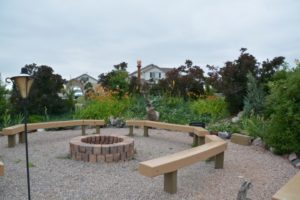
I brought it home and placed it in the wheel barrow.  I took it to a spot in the garden where I thought it might look good, and where I thought it’s energies would be harmonious.  I left it there for a week, then I came back to ask the stag god if he liked this location – no.  OK, so I moved him again, and again, taking him to different locations around the garden to see where he wanted to be placed, to stand guard over the property, and to bring his energy of light and strength.  8 weeks later the decision was made.  The stag god will stand guard in the sacred fire circle, at the base of the south berm.

A Gold and Silver braided torq was attached to the antler. the torq was made my my dear friend and local artist, D Garrett. she gifted it to the Stag God during our Yule ritual. The Torq represents power and sovereignty.

As is the case with almost everything that gets built, installed, or created in this garden, a big celebration was necessary to properly honor the new stag god at his installation at the fire circle.  For our Yule 2016 celebration, we washed the antlers, cleansed them with incense and spruce oil; wrapped the wheel barrow in blankets and red velvet cloth and set the antlers into the wheelbarrow.  We then chanted and drummed as we paraded him to the fire circle.

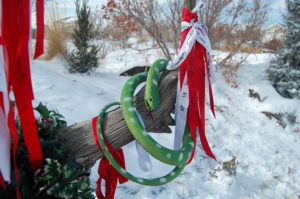
The Stag God is often seen with his companion, a snake or serpent. the serpent represents the energy of transformation as it sheds it’s skin and is reborn anew.

He was installed atop a large segment of cottonwood tree, taken from a fallen and dried tree near my home.  The log is in the shape of the back of a stag and lent itself perfectly to creating the look of the stag.  Offerings were made and gifts given to adorn the new Stag God.  Ribbons with our blessings and prayers were tied to his antlers.

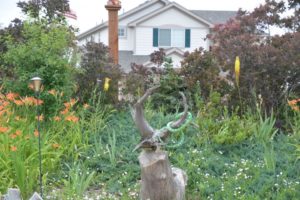
Stag God, summer 2017

Stag God at the south end of the fire circle, summer 2017
Stag God with Iris and newly installed Amanita muscaria mushrooms. (Made of concrete and painted). Spring 2018

The Stag God is honored and recognized at both the Summer and Winter Solstices.

Cactus Adventure

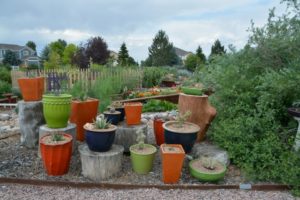
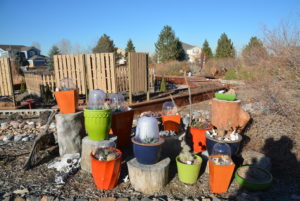
I went to the Denver Botanical Garden’s spring cactus and succulent sale, and lost my mind! I set up this cacuts display in pots. I drove to the ends of the valley to find to find the colors I wanted. I chose colors that give a nod to the bright Mexican calavera pottery. I will post more pictures in 2019 with species name and such.
I bought these plastic cloches to help protect the agaves in the pot garden. “Some” say that agave will not overwinter in the garden here in Colorado, in a pot. We shall see. Cause I’m not going to haul pots around.
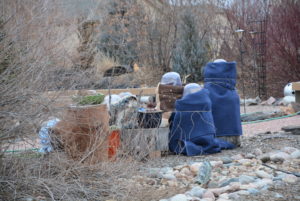
so temps are supposed to be down to 10 degrees. So I wrapped the agaves in quilted packing blankets. they WILL make it through this winter!

Iris Spring 2018

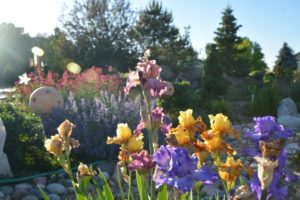
These Iris were from an “exotic” blend I purchased from Breck’s bulbs. Baboon bottom, Zebra stripe, Tiger, and blue batik. They were supposed to be spotted and stripped. They came out as pictured. I complained to Brecks and they sent me a new shipment. They also did not show their stripes. sigh. They’re still quite pretty.
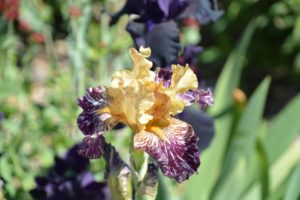
Iris Spring 2018 (If I can remember the variety, I’ll update later.)
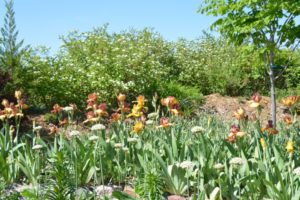
These Iris were moved last fall from the base of the south berm, street side. The carpet juniper over took them. I didn’t expect them to bloom, but their first year after transplant was surprisingly pleasing. White alium is in the foreground, and blooming red twig dogwood in the background.
Gypsy Queen Spring 2018
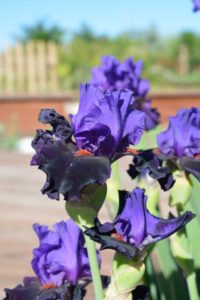
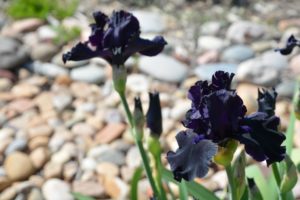
Midnight Black Iris Spring 2018
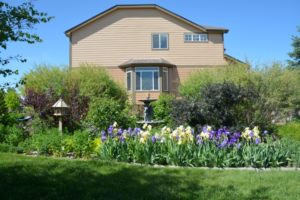
The yellow and white Iris in this bed are a gift from my Mother.  She planted these Iris in her garden in San Jacinto Ca. in 1972. (I think she got them from her Mother’s garden, but I’m not completely sure about that.) She took some with her to Salt Lake City Ut in 1974. When I bought my first house in 1989 she sent me some in a box, to Aurora CO. When I moved to my current, and permanent home here in Brighton CO, I of course, took them with me. These Iris have a long and loving history.