The Stag God

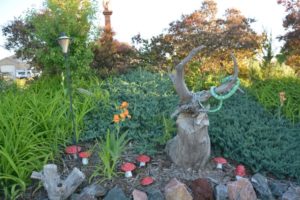
The Stag God, God of fertility and protection.

2016-2018    My good friend Jackie Weller is selling her beloved home of over 30 years.  She has bought herself a more manageable townhome for her retirement.  Summer of 2016 she gifted me this magnificent horned/antler-shaped piece of wood which has stood guard on a stone at the front of her garden for a very long time.  It represents the energy of the sun, protection of the home front, and the energy of fertility and virility of the stag, as demonstrated by his tall, erect antlers.

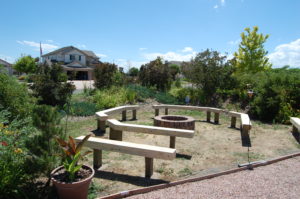
I brought it home and placed it in the wheel barrow.  I took it to a spot in the garden where I thought it might look good, and where I thought it’s energies would be harmonious.  I left it there for a week, then I came back to ask the stag god if he liked this location – no.  OK, so I moved him again, and again, taking him to different locations around the garden to see where he wanted to be placed, to stand guard over the property, and to bring his energy of light and strength.  8 weeks later the decision was made.  The stag god will stand guard in the sacred fire circle, at the base of the south berm.

A Gold and Silver braided torq was attached to the antler. the torq was made my my dear friend and local artist, D Garrett. she gifted it to the Stag God during our Yule ritual. The Torq represents power and sovereignty.

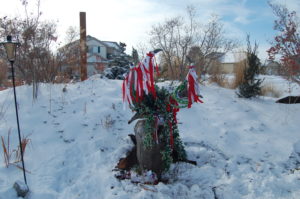
As is the case with almost everything that gets built, installed, or created in this garden, a big celebration was necessary to properly honor the new stag god at his installation at the fire circle.  For our Yule 2016 celebration, we washed the antlers, cleansed them with incense and spruce oil; wrapped the wheel barrow in blankets and red velvet cloth and set the antlers into the wheelbarrow.  We then chanted and drummed as we paraded him to the fire circle.
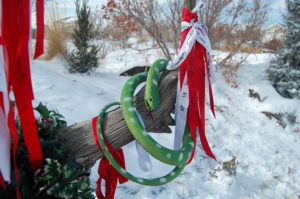
The Stag God is often seen with his companion, a snake or serpent. the serpent represents the energy of transformation as it sheds it’s skin and is reborn anew.

He was installed atop a large segment of cottonwood tree, taken from a fallen and dried tree near my home.  The log is in the shape of the back of a stag and lent itself perfectly to creating the look of the stag.  Offerings were made and gifts given to adorn the new Stag God.  Ribbons with our blessings and prayers were tied to his antlers.
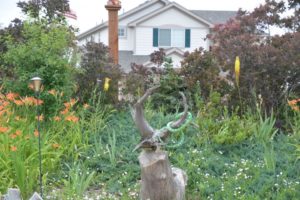
Stag God, summer 2017
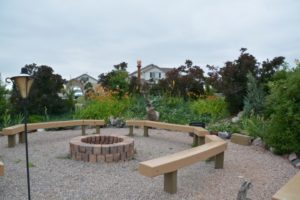
Stag God at the south end of the fire circle, summer 2017
Stag God with Iris and newly installed Amanita muscaria mushrooms. (Made of concrete and painted). Spring 2018

The Stag God is honored and recognized at both the Summer and Winter Solstices.
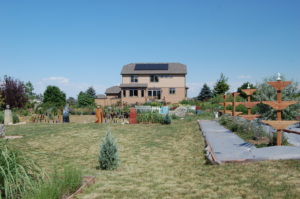
Fabricing the world!!!!

I am sick of weeding!  I know it’s a never ending battle; I know that as a gardener, I will always have to weed.  But seriously, I do not want to spend the majority of my time weeding; that should not be my primary function in life.  I know the giant wild field to the north of my

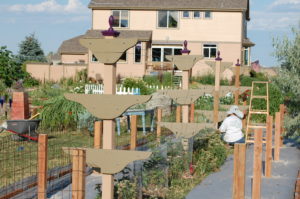
Landscaping fabric around the outside edges of the trellis.

neighborhood will keep blowing weed seeds into my yard.  I KNOW the birds will keep pooping weed seeds into my gardens.  But I can’t stand it – I have to do something.  So I am putting fabric down where ever I possibly can.    So Far I’ve gone through 600 feet, at 12′ wide.

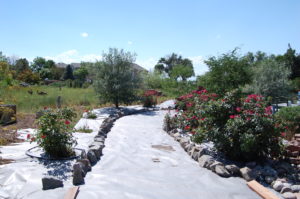
Fabric laid down in the pathway, and under the mulch on both sides. All the way to the edging of the Blackberry trellis to the north, and the wildflower meadow to the south.
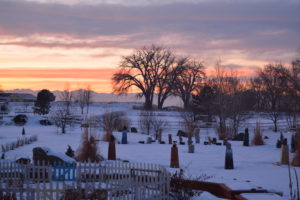
I put fabric under the fire pit before the gravel was added (I don’t have a picture of that step)
There is fabric on both sides of the blackberry bed, and moving under the border of the bed into the next garden area
The entire garden of Pain is covered in fabric: 2 layers under the central hardscape walkway, and 1 layer on both sides of the walkway, with holes cut around the trees and roses.
Weed barrier under what will later be the Willow Woman sculpture
I laid down two layers of fabric through the north walkway. This area is not finished, but the fabric will give us a dry surface to walk on in the meantime.
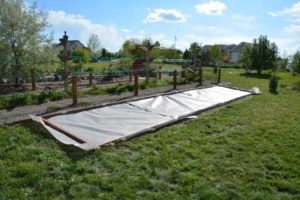
The future fire feature at the south edge of the dragon garden
All the mulch was raked away to one side of the space, and then the fabric laid down, mulch spread out on top, and the fabric laid out over the other side. Holes were cut around the low lying squash beds, and an additional 3″of new mulch added on top.

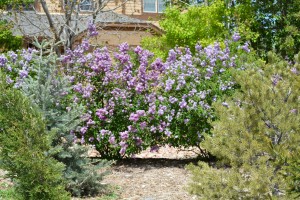
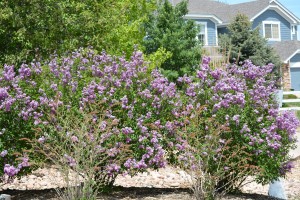
Lillacs

North side Lavender Hedge. (It's hard to get the whole hedge in one picture, but there are six shrubs in this hedge.)
North side Lilac Hedge. (It’s hard to get the whole hedge in one picture, but there are six shrubs in this hedge.)

This was as great year for the lilacs.  The made it through the spring frost, and are really strong.  There is a 6 bush hedge on both the south and the north side of yard.  I love that they are medium sized, although I can’t take credit for that – I bought them at Home Depot and they were labeled: Lilac.  so I have no idea what variety there actually are.  I’m going to try to find out, because I’d like to add some more in several places in the garden – but only if I can find this medium sized variety – no monsters here.

IMG_0576

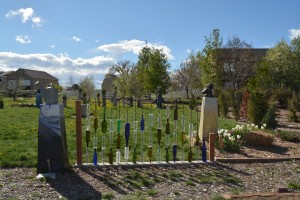
Bottle Wall project

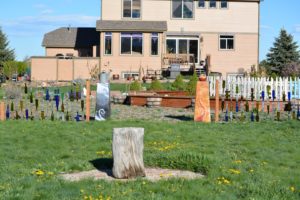
I’ve been saving wine bottles for a year.  Storing them by color in large plastic pots on the side of the house.  The neighbors must think we really drink a lot around here.  But every time we have a Sabbat I collects 3 or more bottles.  Pagans love to drink!  I saw a wine bottle project online and just had to do one.  It really creates a nice delineation of space between the vegetable garden and the main sacred space/Dragon Garden.

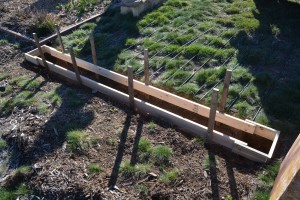
Footer for the bottle wall

Brian and I dug out the ground, made the frames and laid the concrete.  Then we pounded in 16 5′ sections of rebar per side, 4″ through the concrete and another 6″ into the ground below.


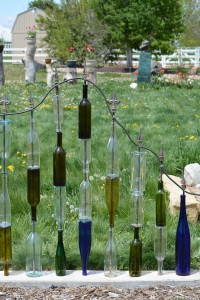
Next, my friends Glenn, AzureIris, Persephone, Lupin and James helped me wash bottles and organize them in a wave pattern on the rebar.  We used three different sizes of plumbing washers and clear silicone to place spacers between the bottles.

Bottles installed on the east foundation

This will keep them from chinking together and also from coming out of alignment.  Then we had 2 weeks of heavy rain . . . . . . . . . . . . . . . . . . . . . . . . . . . . . . . . . . . . . . . . . . . . . .

Bottles installed on the east foundation 


Finally, Brian and I were able to get the top rail on.  It’s just another 10′ piece of 5/8″ rebar.  We used a bar bender to carefully shape the rebar to fit the curve of the design.  (pain in the ass).  Meanwhile, while it was raining, I ordered some metal finials to go on top of each row of bottles, above the top bar, to finish it all off.  The finials are rusting nicely now.

Bottle wall, east side, close up detail

I think it turned out beautifully.

Finished wall looking east towards the back of the house

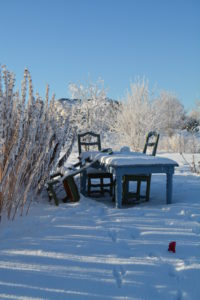
Snow

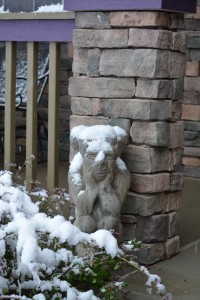
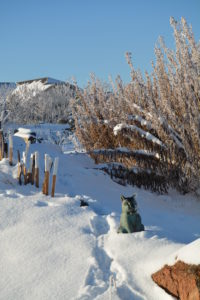
someone's not amused with all this snow
someone’s not amused with all this snow
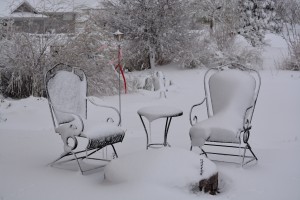
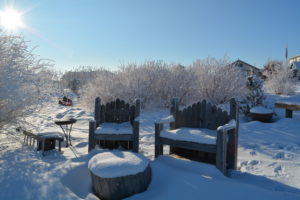
Comfortable seating on the back patio
It's still snowing . . . .
It’s still snowing . . . .
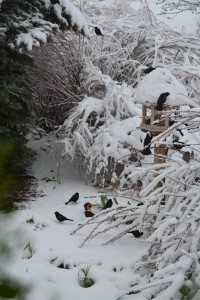
The birds always enjoy our feeder


Color!
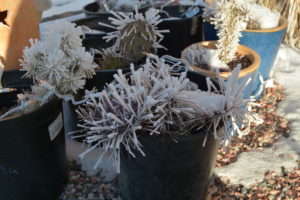
Frozen desert
Snow rabbit
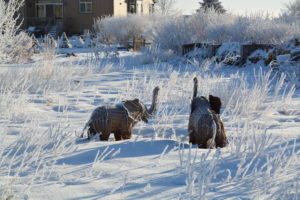
Frozen pigs
The sun always shines in Colorado
Front walk way
I am undaunted!


Cupola
Fire anyone?


Snow dragon
Monkey with snow blanket


No tea party today


Cat on a cold snow dragon!


Frozen in time
The Savannah freezes


For the Snow King and Queen
Playing in the sunshine


Sunset over the snow

Spring bulbs are up, fingers crossed

I love it when the spring bulbs finally start blooming.  There’s this odd anticipation of the coming summer, mixed with a constant watching of the sky for the next spring storm.

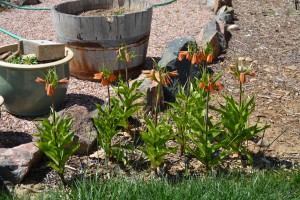
Chopin Imperials near the south walk

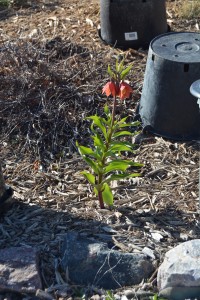
The orange Chopin Crown Imperials came up WAY too early.  But I am really happy with how strong and tall their first year’s growth is.

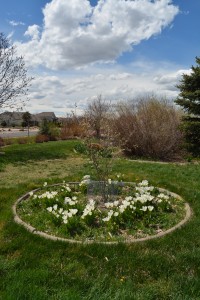
The new Service berry trees made it through their first winter.  We’ll see if they grow here in the tree ring in the front lawn.  We planted Catalpa here the first year we moved in.  They were beautiful until they were slaughtered by a late freeze in the 7th year.  We replaced the Catalpas with hot pink crab apples, which made it two years.  The freeze/heat/freeze/heat cycles of the 2014 winter took them out.

White tulips under the new baby Serviceberry tree

So fall of 2015 we planted the two Service berries.  They’re supposed to be indestructible, native to the high plains.  Convince me.  Already, in early April the tulip bed is filled with weeds.  I sprayed this bed three times last year but the weeds just keep coming.  It’s like a divine farce or something.  This year’s strategy is vinegar.  But I need to pull this first batch while the tulips are blooming.  Sigh.


This is the second winter for these baby Carol Mackie Daphnes.  I had 4 really nice shrubs here, which I planted in 2005.  I got them a little too close to the Korean Lilacs and they were crowding each other, so I trimmed them back and moved them forward.  They did not appreciate that.  So these babies are their replacement.  So far so good.

Carol Mackie Daphne in front of Korean Lilacs, in the front garden. East


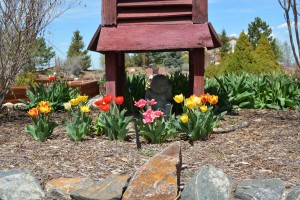
The Daffodils have been up for a couple weeks, but I was surprised to see the tulips pop up so soon.


Spring mixed tulips in front of the old barn coupla. Baby likes them.


Into the Spring we go!   Gird up your overalls, this journey is not for the faint of heart.   Forward Ho!

The Spring Maiden

First daffodils, south berm

Spring – such a savage season. Like a sweet young maiden, she flirts with us, showing us only small glimpses of her beauty, leaving us hungering for more.


Chopin Crown Imperial, blooming too early
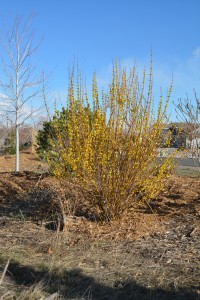
Forstythia, south berm


And, like the vengeful young maiden, the object of her affection scorned, she lashes out with cold wind and snow, running away to hide her tears, she leaves us yet again hungering for more.

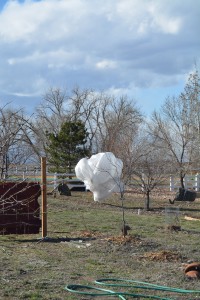
Apricot Tree, wrapped against spring freeze

The Apricot tree is in full bloom for a week now.  Something about the 70 degree weather she says.  I watched the temperature steadily dropped over the past three days, and finally decided to try to save her buds.  This beautiful little tree gets her buds frozen off every year.  This year I’m trying to change that.  I wrestled with the  wind yesterday and wrapped her up in row cover fabric.  Held down with twine and large binder clips.  I stuck my head up inside the fabric and it actually was much warmer inside there than outside.  I hope this is enough protection, it’s all I could think to do.  We’ll see.

(Update:  no apricots.)

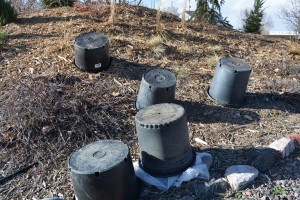
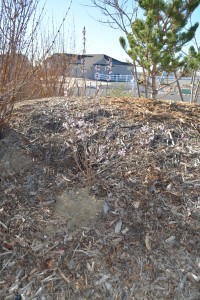
Chopin Crown Imperials covered with black pots to protect against spring freeze

The crown imperials are tucked away underneath these large size black pots, held down with long fabric pins.  I can’t believe they came up this early.  They’re pricey bulbs damn it!

Tee hee hee, she squeels!


Willow woman – phase 1

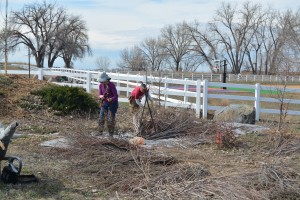
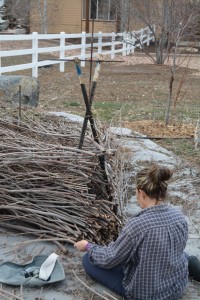
March 12, 2016:  Someone posted a beautiful picture of a willow branch sculpture on facebook.  I immediately put it into my file cabinet for future must do projects.  I saved all the willow branches from last falls pruning and had a ginormous pile behind the storage fence just waiting to start this project.

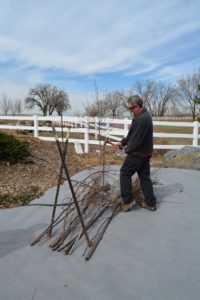
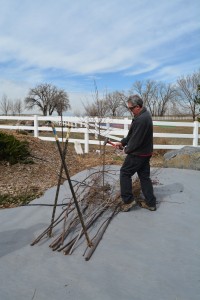
It’s spring!  Time to build the willow woman!  My good friends D and Bear were all too happy to help.  They love artsy projects, especially D (she’s an artist).  Brian and I went outside early and laid out the weed barrier (because I’ll be damned if I end up pulling weeds out of my willow woman’s skirt!)  Then we anchored in the basic frame for the structure.

Brian wielding his big hammer

We used tree stakes and rebar to build the shape of what will be her skirt and shoulders.  The rear stake will anchor the rear branches so they don’t blow around in the wind.


D and I working on the outside of the skirt.  (Bear was being camera shy, I’ll  get her next time.)

D and I working on the willow woman

5:30 pm.  Filling the center of the skirt.  Out of branches, out of energy.  Done for now.

Willow woman, lower skirt

Daylily backbreaker

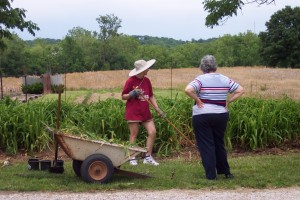
Week of March 1st, 2016:  Waaay back in 2006 Brian and I took a trip to Augusta Missouri to see his Aunt and Uncle, Judy and Randy.  They have a beautiful piece of land in a pristine valley, surrounded by wooded hills and vineyards.  When we drove up the long driveway, the first thing I saw was a beautiful row of orange daylilies.  I commented to Aunt Judy about how beautiful they were and she went into a tirade about what a pain in the ass they are and how they’ve completely taken over the hibiscus garden.  I said:  “what hibiscus?”  She said:  “exactly!”  So she pushed her way through the daylilies and pointed out the poor hibiscus shrubs completely drowned in daylilies, and explained how she just hadn’t had time to dig them out . . . . . so here I am with a shovel digging out the day lilies.

Digging daylilies at Aunt Judy's.
Digging day lilies at Aunt Judy’s.


Bonus!  I get to take them home!  I ended up with about 200 tuber sections.


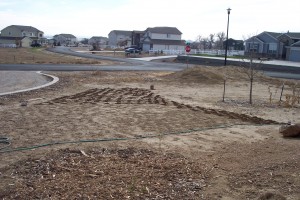
New daylily bed, 2006. (The strip of disturbed ground to the left of the dirt berm in the front by the road) All the darker bumps are the holes for the 1000 crocus that I planted before the lawn was seeded. The amount of water it takes to grow a freshly seeded lawn, will rot your bulbs. FYI
New day lily bed

This is the front yard, looking toward the east from the front porch.  (The strip of disturbed ground to the left of the  dirt berm in the front by the road). All the darker bumps (closer to the porch) are the holes for the 2000 crocus that I planted before the lawn was seeded. (FYI: The amount of water it takes to grow a freshly seeded lawn, will rot your bulbs. Plant bulbs AFTER the lawn comes in.)

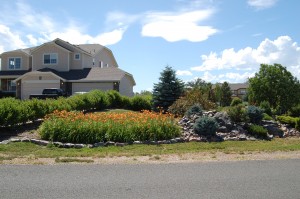
Daylily bed, 2014

Daylily bed, 2014This started out as 100 tubers.  I planted two large beds of day lilies, one on the north side of the driveway and the other on the south side of the driveway.  They are glorious in mid June.  But spring cleanup is a real chore.  I pulled out 4 large bags of dead leaves and stems on each side.    But you can’t beat day lilies, really.  They are troopers.  And you need to be tough to live out here on the open plains in Brighton.  So I’ve now got day lily beds strategically placed around the yard and on the berms.  And if you drive around the neighborhood in June, you can also see my orange babies in several of my neighbor’s yards too.  I love them, they make me happy.