An ongoing labor of love, creating sacred space


Working my way around the Dragon garden, creating elemental representations in the space. I was mesmerized by the Chihuli Exhibit at the Denver botanical Garden’s last year and have wanted to put up a wall of fire in my garden ever since I saw the one they had in their exhibit.
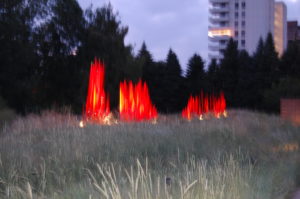
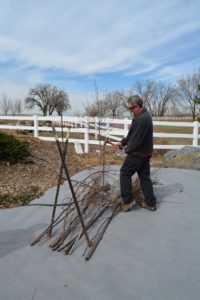
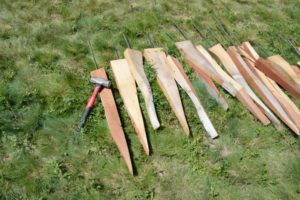
When we built the curved bridges to go over the dry river beds we had a lot of wood left over, and several pieces that were either spear shaped or had a curve in them, due to how the bridge was laid out. I asked Brian to trim them up in curvy, flame-like shapes. He did a great job. they sat around in buckets out behind the house for a year, till I got around to doing this project as one of our community work days.
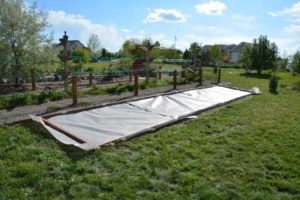
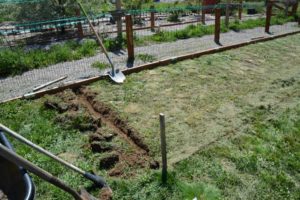
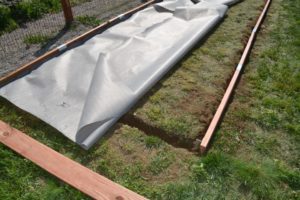
Before everyone came over Brian and Dug out trenches to delineate the space, laid out the weed barrier and then held it down with the pressure treated 2x6x10’s.
We had to hold the wood down in a vice to drill the 3/8″ holes into the wood, then we took them outside and had one person stand on them while another person pounded in the 3/8″ rebar. This was really hard to do! When they were done, they were taken to the fire display area and placed into the ground through the fabric.
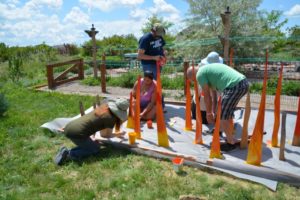
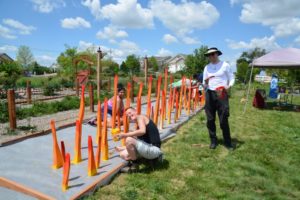
I placed the longest flames first and then the medium and then the shortest.
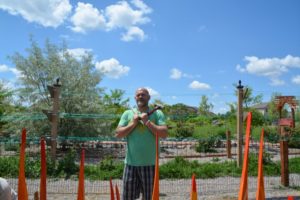
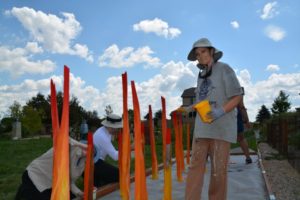
We painted the flames with neon, outdoor paint, they glow in the sun shine. Darkest colors at the tips and yellow and white at the bottom to symbolize a white/hot heat.
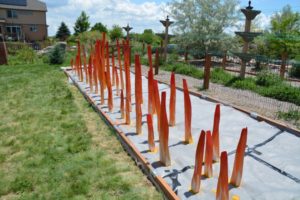
All the flames are in place
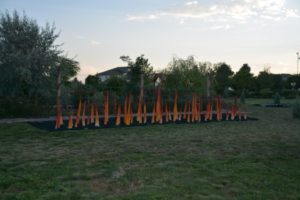
We added 2″ of 2″dia lava rock throughout the flames to finish off the look. It’s amazing, you can almost feel the flames. Actually, something to know about lava rock, it holds a LOT of energy, myself and certain others can’t get within 6′ of it without getting dizzy. You can feel the movement of the rock, like a lava flow.
I wanted to create a space in the garden for contemplation of what is painful in life. Gardens to me, sometimes feel like these extra-ordinary , falsely contrived paradises, where everything is prefect, where there are no weeds, and where people walk around smiling. All that is very nice, and I must say that I love going to the Botanical Garden and reveling in it’s perfect beauty.
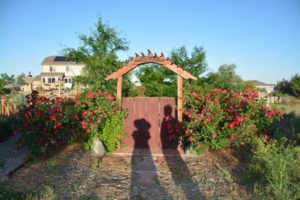 But my garden is a sacred place, and a place of transition and transformation. Here I honor life in all it’s phases, in all of the seasons, both beautiful and harsh. Here I honor love and joy, pain and sorrow.
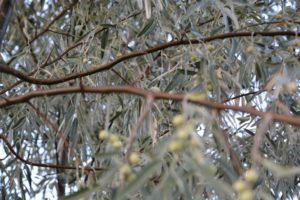
I have a special place to meditate and commune with the land spirits and with the Fey, I have a space to celebrate and dance and drum in joy and companionship. I also need a space to experience paid and sorrow, stillness and solitude. This place I have named The Garden of Pain. Here, I leave my pain and failure, my sorrow and my worries.
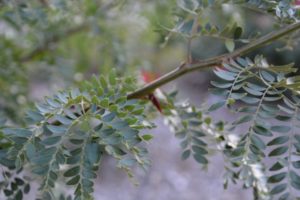
I walk upon the path through the exceptionally thorny Rosa Rugosas and contemplate that which pains me; I walk the path as the thorny branches of the Locust and Russian Olive reach out and catch my clothing, reminding me to stop and not proceed through so quickly.
Here I leave my tears for the Fey and for the Roses to feed upon.
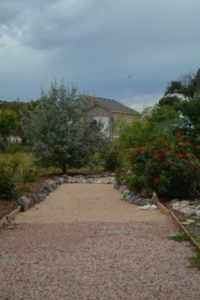
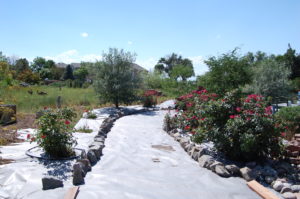
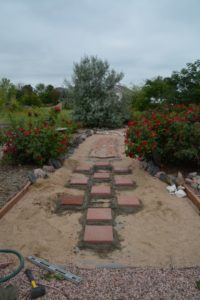
The beginning
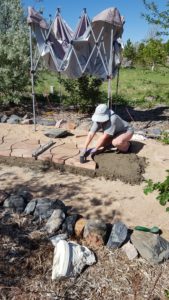
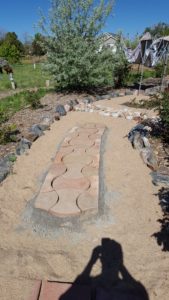
The stones are being placed in the middle of the sanded walkway because I am planning to add a mixed media design around the central walk way, on both sides.
The materials will be in congruent and installed over time as they are discovered or acquired.
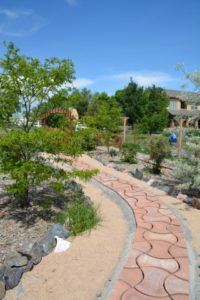
Turning the corner was difficult, the large stones had to be cut with the tile saw so the corner could be accomplished.
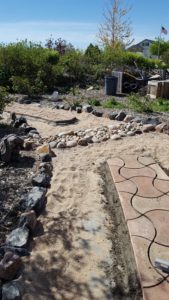
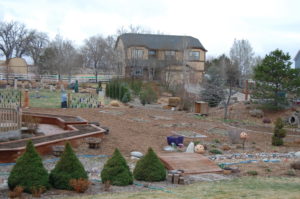
On the right, the two sections end 2′ before the dry river bed stones. Eventually, there will be a bridge here to connect the sections while allow-ing overflow from the pond and/or water feature to move through the GoP and into the main dry river bed drainage system.
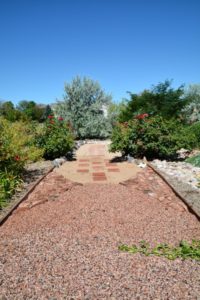
These stepping stones bring you into the Garden of Pain. Some will hop-scotch their way in, while others will spend time walking from Sephira to Sephira.
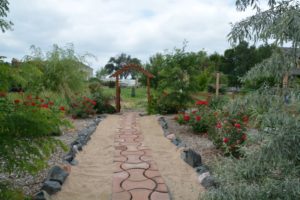
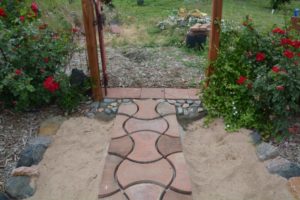
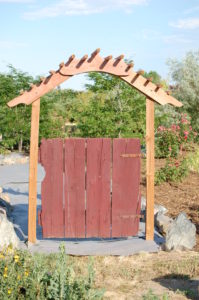
Brian built this simple arch way/trellis to support the gate and the Jasmine vine that is planted on either side of the gate.
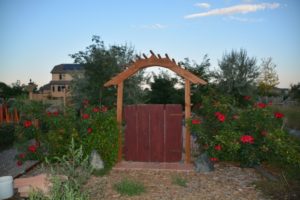
Phase 1 complete, more to come.
Welcome dears, Come on in, soak the sand with all your tears,
prick a finger on the thorns, and bring an offering the path adorn.
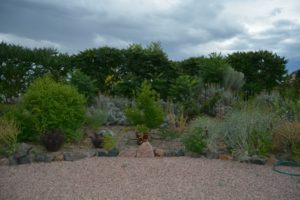
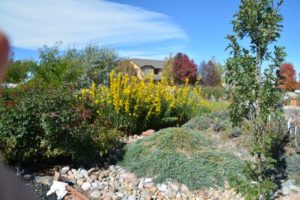
Looking south, from the gravel walkway, just off the back porch, this is the low water garden. I have cacti, red stone crop, Turkish horned poppy (which is done blooming in this picture, but has a riotous yellow flower), orange oriental poppy, echinacea (which isn’t doing so well), sunset hyssop, white sage, some self- seeded milkweed, red hot poker, and a hairy leaf white sage. The sumacs in the background provide a lot of privacy, and beautiful fall color.
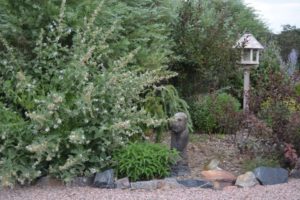
This little monkey (all 150 pounds of him) loves his little larch tree. But the 6′ x 6′ marshmallow is hogging space. I will need to dig out the marshmallow, harvest the roots, divide and replant next year. I purchased this little monkey sitting on a pile of books, looking very contemplative – – – in Salt Lake when I went to visit my Mom in the spring. As I was having him wheel-barrowed to the checkout, I spied this little larch tree. The two just seemed to go together. And sure enough, the monkey loves the larch tree. I was worried that it wouldn’t be hardy enough, but it pulled through the winter just fine.

North rock berm, viewed from the front porchThe north rock berm is finally filling out. It looked so silly when it was first planted. It really just looked like a pile of rock with a few pathetic little shrubs on it. These dwarf evergreen shrubs are pretty expensive, so I bought them small, like 12″ tall and wide. Time. It’s about time.
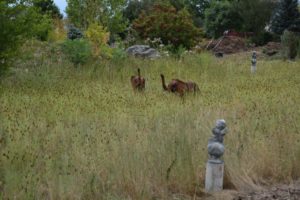
I purchased two baby elephant sculptures from Sante Fe Pottery on south Sante Fe Blvd. They are made of old sheet metal and have a nice rusty patina. They stand about 24″ tall and long. They really look like they belong in the wild flower meadow, it’s a Colorado take on the African Savanah. Their Mother is also available, but i don’t think I can afford her.
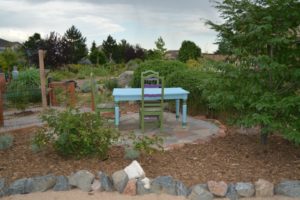
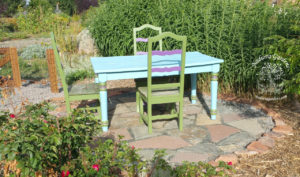
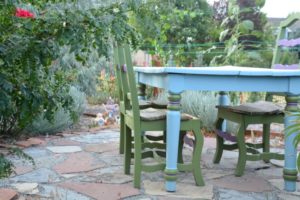
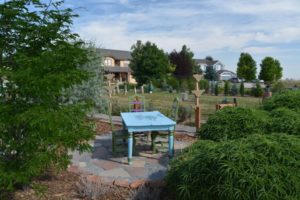
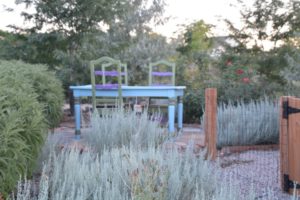
Mad Hatter’s patioI picked up this old wooden table and chairs from a friend who no longer wanted them. Repainted them in a baby blue (which isn’t a color I usually go with, but I thought it made a nice contrast), and the chairs in green and purple, to match the house trim. My gardener extraordinaire, Jester, helped me create the patio using 4 different colors of slate which I purchased from Bedrock Materials in Brighton www.bedrocklandscapingmaterial.com/, and edged with red sandstone which I got for free from a friends garden. I’ll be adding some additional whimsical touches as time goes on.
Last fall I decided to add some bulbs to the Dragon Garden. I planted about 150 bulbs in each of the four elemental dragon beds. After the big pampas grass gets cut back in the early spring, nothing is growing out back, and the Dragons look so stark. Each bed has a different variety of short, early blooming bulbs like snow drops or winter aconite. Then the hyacinth should come up next, followed by daffodils, tulips and lastly the Asiatic lilies. I tried to color coordinate the bulbs with the elemental representation of each dragon. Air should be white and yellows. Fire, yellow, orange and reds. Water, white, blues and lavenders. And Earth, a mix of color.
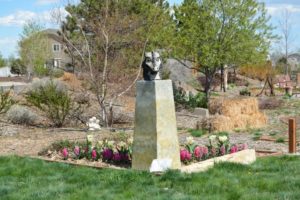
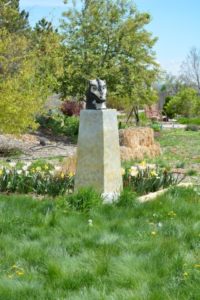
I planted bulbs that would bloom early spring through mid summer. The mid summer lilies did not come up well, maybe they need another year in the ground, we’ll see.
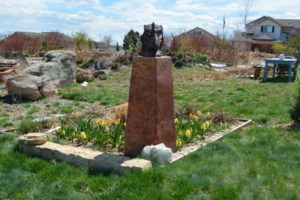
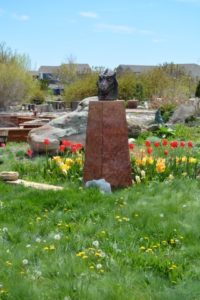
As fate would have it, some of the bulbs I ordered did not look like their picture, or maybe they were mislabeled. Of course, I’m not going to dig them out and send them back – I think the bulb companies are banking on that.
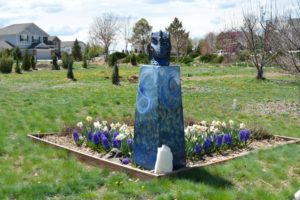
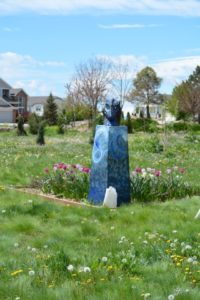
I used a different on-line company than I have used before, because Breck’s didn’t have all the colors I wanted. Never the less, I think they turned out beautiful.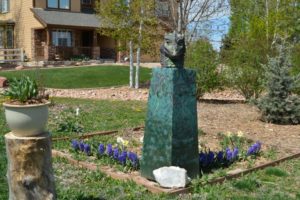
|
|
|
|
|
|
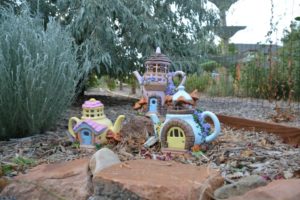
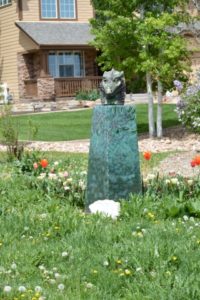
My Mother LOVES to do ceramics. (All of the above are from Mom’s garden.) she has run out of room to put ceramics in her garden so she is “helping” me decorate mine.
I have ceramic ducks, a turtle, mushrooms and now, I have a fairy garden. I’ve finally had to ask her to check with me first before making me any more ceramics for my garden, or my house for that matter. I am not going to be an outlet for supporting her addiction! (She has run out of room to put more ceramics in her own yard – seriously, it’s scary. My Mom is “that crazy ceramics lady.”
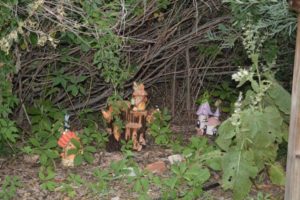
But these little fairy houses are really cute, and they look nice under the willow shrubs in the south/east fountain garden. I have them tucked just beneath the overhang of the willows. Fairies like their privacy you know.
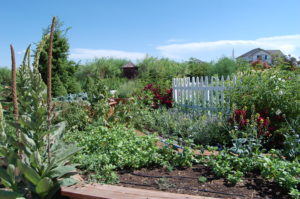
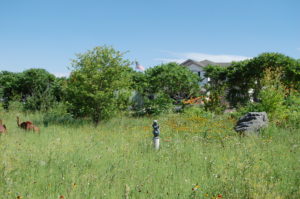
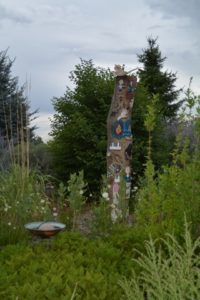
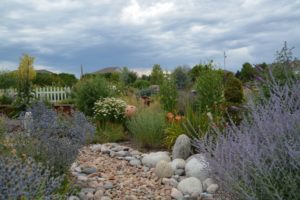
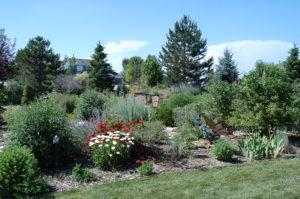
I am sick of weeding! I know it’s a never ending battle; I know that as a gardener, I will always have to weed. But seriously, I do not want to spend the majority of my time weeding; that should not be my primary function in life. I know the giant wild field to the north of my
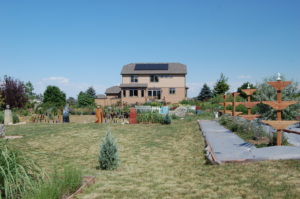
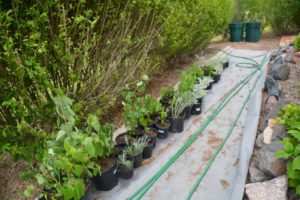
neighborhood will keep blowing weed seeds into my yard. I KNOW the birds will keep pooping weed seeds into my gardens. But I can’t stand it – I have to do something. So I am putting fabric down where ever I possibly can. So Far I’ve gone through 600 feet, at 12′ wide.

