In the Beginning . . . Let there be herbs!

Getting the Herb Garden built this first year was very important to me.  I had a very productive herb garden at my house in Aurora (which the new owner immediately tore out!); all my herbs were living in pots at Jackie’s house, and the Herb Garden was to be the central anchoring point of the entire rear garden.  So after putting in the driveway in June, we set to work on the Herb Garden in July.  Bless my husband for his diligence and love.
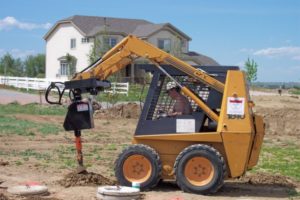
Drilling the holes for the Herb Garden support posts

Of course he did get to play with another piece of heavy equipment.  After deciding that there was no way to dig the footings by hand, we rented an auger.  Brian had soo much fun!
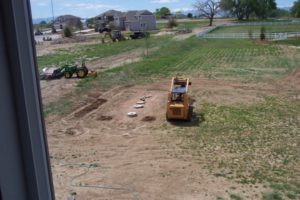
 

Drilling holes


We designed the structure so it would sit around the septic tank lids and hide them.  The east/west walkway covers the tank lids.  When the tanks need to be drained, the walkway comes up so the septic service can access the tank lids and do their stinky thing.
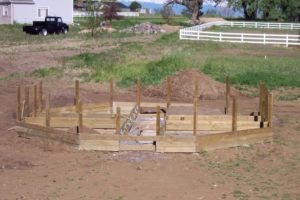
Outer structure
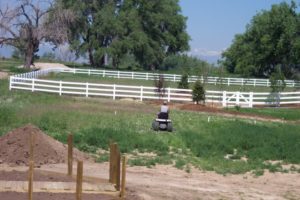
Mowing weeds

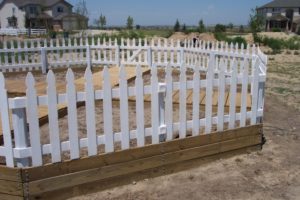
The posts are 2′ into the ground and 6′ above ground.  There are 3 levels of 6″ 2×6 to make the sides.  The structure is divided into 4 planting beds by two walkways, which run east-west and south-north.   (The east-west walkway hides the tank lids.)


Chicken wire keeps underground predators out, and once the picket fencing was up and painted, we stapled more chicken wire to the inside of the frame to keep rabbits out.  3″ of gravel was laid down under the walkways for additional drainage.
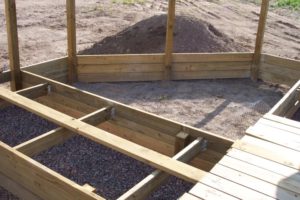
Chicken wire

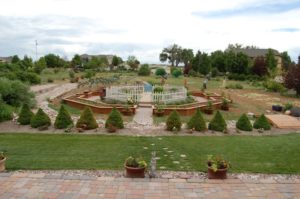
There are four doors for entering the garden, one in each of the four cardinal directions.  I later painted them in the four elemental colors to match, yellow-east, red-south, blue-west and green-north.  Brian put a lot of time and engineering into building this structure. I wanted it to be 8 sided to represent the wheel of the year,
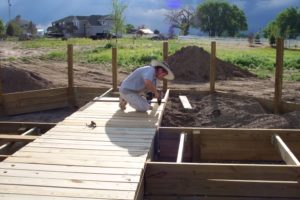
Screwing down the walkway slats

and I wanted 4 garden sections.  I also wanted the 4 gates so that entry into the garden from any side of the garden would make it easier to work in.  I did as much as I could. I helped with the concrete pouring, holding boards while they were drilled and/or bolted together, and I put down the walkways.  Then of course, 18″ of rich garden soil had to be  brought in.   Voila!
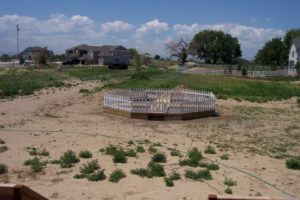
Finished Herb Garden


Vegetable Garden


In early spring of 2014 I decided to take on vegetable gardening.  I was really scared I wouldn’t be able to figure out how to grow vegetables.  It all seemed very daunting.  And there was this weird sense of responsibility.  Like, what if all the seeds died?  I killed food?  It’s one thing to kill a flower, but to kill food?

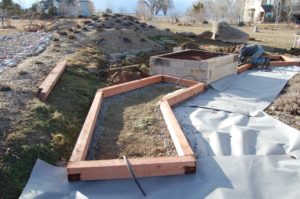
digging the foundation trench, and adding gravel
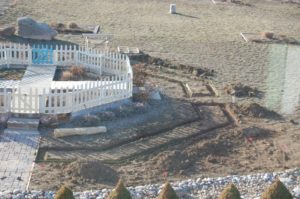
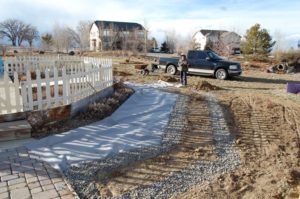
Adding weed barrier for what will be the walkway between the herb garden and the vege raised beds


Food plants are special.   They hold the energy of life in them in a different way from flowers, or shrubs and trees.  I could feel that energy when I went to the store to buy the seeds, and held the seed package in my hands.  “Plant me,” they said, “I will feed you.”

First row installed. the hose sticking out the end is actually irrigation pipe, which is being laid into the beds as they are built

While we were building the vegetable beds, I was organizing the seeds, reading my books and figuring out which seeds want to be planted next to which other seeds.  When to plant the seeds, how deep to plant the seeds, how far apart.  OMG – this seems really complicated!

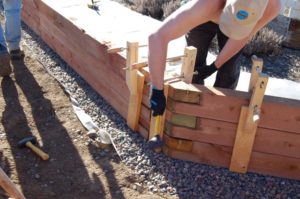
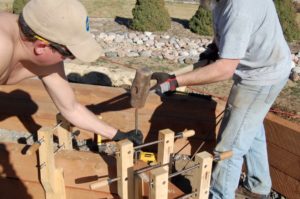
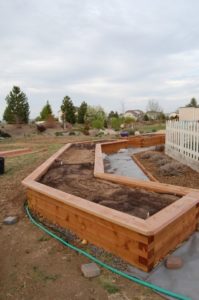
Meanwhile, Brian and Jester are busy doing the hard work of drilling holes in the bed joints, all the way down to the ground, and then securing the joint with clamps and pounding the 3/8″ rebar through the holes and 12″ into the ground below.  The boxes are made with 3 levels high of 6×6 cedar.  These walls are NOT going to move.

Brian, making sure everything is level and plum
Brian and Jester clamping and pounding in the rebar.


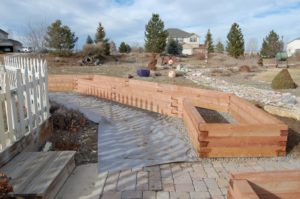
Finished beds.

Completed bed
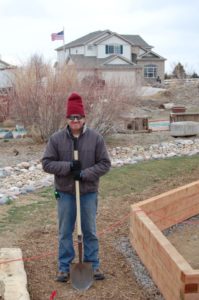
Brian, looking like a garden gnome


I had to post this picture of Brian.  I saw him standing there taking a break and nearly fell over laughing.  So I made him pose for a picture.  He’s now my official garden gnome.

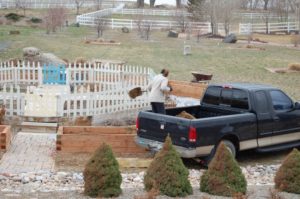
Filling the beds was back breaking work.  6 pickup truck loads of soil for each of the three beds.  I did one bed per day.

adding soil
Soil is in!


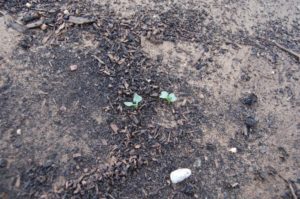
first seedlings sprouting – soo excited!


I was both excited and scared to death when the first seedlings popped up.  They’re growing!  they’re actually growing!  Believe it or not, I have never grown anything from a seed.  I buy all my plants from the store, or get them from a friend, already growing in pots.  So this whole vegetable garden thing took all my courage.  What was I going to tell my husband if I couldn’t figure out how to grow vegetables after all the work he and Jester put into building this glorious garden?!?  And how could I consider myself a gardener if I couldn’t grow something from seed?  My whole gardening persona was on the line.  But after much helicoptering, blessings, chanting, finger crossing, covering and uncovering the seedlings through the early frost period (up through May), they actually grew.

all the beds are done, planted and seeds are growing. We added 6 ground level beds to the north to plant squash, pumpkins and gourds.

Willow woman – phase 1

March 12, 2016:  Someone posted a beautiful picture of a willow branch sculpture on facebook.  I immediately put it into my file cabinet for future must do projects.  I saved all the willow branches from last falls pruning and had a ginormous pile behind the storage fence just waiting to start this project.

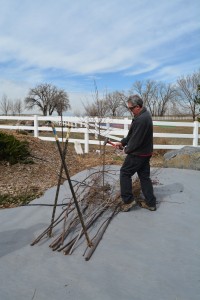
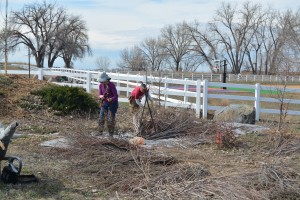
It’s spring!  Time to build the willow woman!  My good friends D and Bear were all too happy to help.  They love artsy projects, especially D (she’s an artist).  Brian and I went outside early and laid out the weed barrier (because I’ll be damned if I end up pulling weeds out of my willow woman’s skirt!)  Then we anchored in the basic frame for the structure.

Brian wielding his big hammer

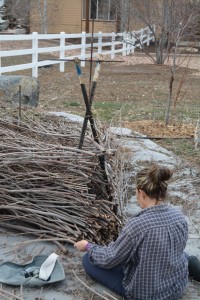
We used tree stakes and rebar to build the shape of what will be her skirt and shoulders.  The rear stake will anchor the rear branches so they don’t blow around in the wind.


D and I working on the outside of the skirt.  (Bear was being camera shy, I’ll  get her next time.)

D and I working on the willow woman

5:30 pm.  Filling the center of the skirt.  Out of branches, out of energy.  Done for now.

Willow woman, lower skirt