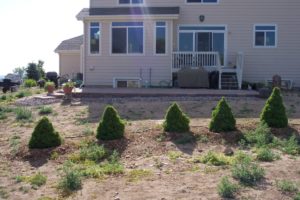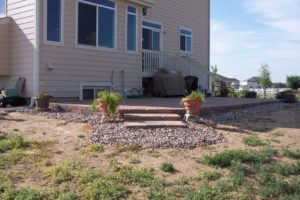
We paid System’s Pavers Company to extend the patio to the south edge of the house. Now the patio spreads across the whole back of the house and it looks beautiful. They had a difficult time finding stone to match what we had, because I mixed three different blends to get a variety of colors. they ended up having to pull stones from the side that was already done and swap them out with stones that they had.
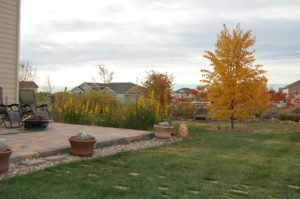
They grumbled, but they got it almost perfect. And although I hate to admit it, their side looks better than our side, and the weeds don’t grow in it. BUT – it was 4 times the cost of the side that we did, so there’s that.
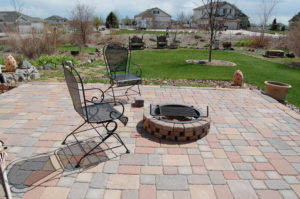
After we got the patio finished we could delineate the space between the patio and the edge of the bed for the dwarf Alberta Spruces. We installed some 6″ edging all the way around the area that would be lawn, tilled and then seeded in the fescue grass. (ONE type of grass!) This new lawn is why there were no larger projects completed in the garden this year. (Well to be fair, the lawn and the fact that the patio was ridiculously expensive.)
I called the lawn my purgatory. My yard guy, Jester, would come over to throw mulch or do trimming, and I’d be on my hands and knees bending over the lawn, reaching out as far as I could, pulling weeds out from between the baby blades of grass. He would say, “How’s purgatory today?” “Very funny” I’d reply; or “Still here.” For 2 – 3 hours every day, for 6 months, that’s what I did. Pull weeds out of the new lawn. Thistle and bindweed. Thistle and bindweed.
About 4 months in, I laid down some larger pave stones to make a walkway from the patio to the Herb Garden, letting the grass grow around the stones. It was worth it, this lawn is thick, lush, weed free and beautiful!
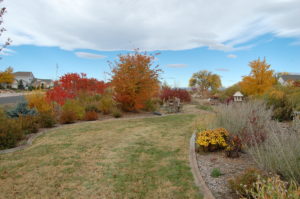
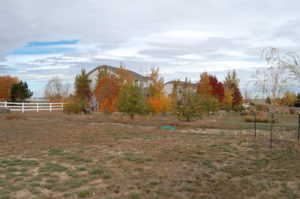
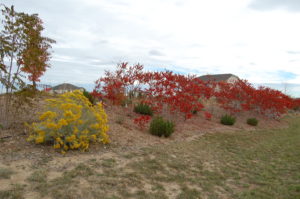
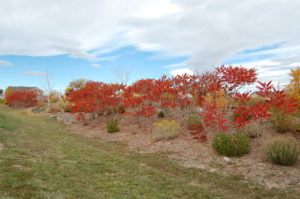
The butterfly garden is finally starting to look like something. It’s a big space. I usually buy at least 3 of the same kind of plant, and spread them around the garden to create a cohesion of color and textures, but I usually end up with 1 or 2 that actually survive.
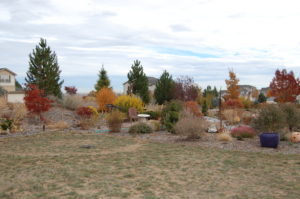
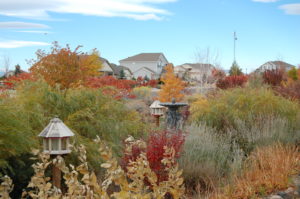
In the closeup below, you can see Walker’s Low catmint, solidago, red barberry, dwarf rabbit brush, the brilliant yellow Maximillian sun flower, Russian sage, which is now turning grey for the winter, and the light orange fall color of the Linden Shrub in the rear. I planted a Linden there, at the base of the north berm, in 2005 and it died. So I cut it down. The next spring suckers shot up all around the dead stump. I decided to let the suckers grow to see what happened, and they grew and grew and became a beautiful Linden shrub. Bet ya never seen one of those before?
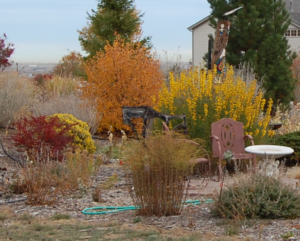
To the left side of the butterfly garden you can see fading Leadplant in the foreground, little bunny fountain grass, some wild milkweed, mullein, sea holly, various dried and bleached out perennials, pink diascia, butterfly shrubs on the far right (behind the purple pot) and orange/red fall color of the pom pom bush towards the left/middle. The two dwarf Alberta
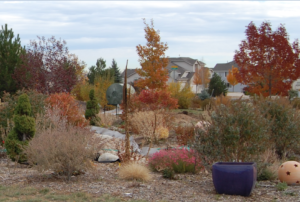
spruces that have been trimmed into corkscrews were first planted in large pots and placed in the south willow garden, but they didn’t like it there, and nearly died. I took them out of the pots and planted them here in the butterfly garden, and 5 years later, they have finally recovered. In the far background you can see the red oak on the left and the purple ash on the right in their fall glory.
Something I didn’t think to get good pictures of, because it’s kind of a mess anyway, is the process of putting in the the cobblestone dry river bed. In 2006 we had a heavy rain, and all the water ran to the center of the yard around the herb garden.
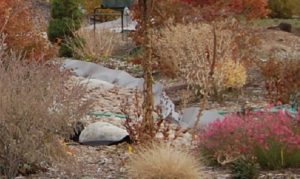
It was a swamp. So we began digging a trench from the high point in the yard, behind the dragon, down the hill, past the cupola, straight north behind the soldier Albertas, curving through the butterfly garden, and then turn due east along the edge of the north berm, hugging the berm northward and off the property, all the while maintaining a downward slope. The trench is 8″ deep, and lined with weed barrier, filled with 3-5″ river rock, and edged with 5-8″ larger river rock to hold the fabric down on the edges. I brought in some larger boulders, 12-24″ size to scatter around for a more natural look. This project took Jester and I two years working on it intermittently as time and money allowed.
.
