Let there be water

People go to the botanical gardens and ooh and ahh over how beautiful and lush everything is; but most people have no idea what it takes to create that lush, beautiful look.  One of the things it takes is water, lots of it.
Let there be water!

My garden is in what’s known as the Central Shortgrass Prairie.  “The shortgrass prairie is an ecosystem located in the Great Plains of North America. The prairie includes lands to the west as far as the eastern foothills of the Rocky Mountains and extends east as far as Nebraska and north into Saskatchewan. The prairie stretches through parts of Alberta, Wyoming, Montana, North Dakota, South Dakota, and Kansas, and passes south through the high plains of Colorado, Oklahoma, Texas, and New Mexico.  The prairie was formerly maintained by grazing pressure of American bison, which is the keystone species. ”  (Wikipedia).

Shortgrass prairie has two basic types of soil, sandy and clay with multiple variations thereof;  the prairie is more sandy the further east you go out of Colorado, and more clay towards the west edge of the grass lands.  My house sits on that west edge of the grassland, so my soil is clay, heavy clay.

Clay soil

The technical term is loamy clay, but that just means that you can actually chop through it with a pick ax, and it’s not quite hard enough to make bricks out of.

clay soil, after it has dried out between waterings


There are ribbons of different clay percentages throughout my yard.  We never know what to expect until we try to put a shovel in the ground.
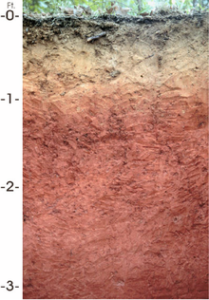
 

Sandy loam on top, sandy loam and some silt and clay, bottom layer, clay

Some times we actually have to dig the planting hole with a pick ax; and sometimes, I can get down 2 or 3 ” (through the sandy/loamy layer) and then I need to fill the hole with  water, (once I hit the clay layer) wait an hour or three for the water to soak in, and then dig another 2 or 3″.   And then there’s the areas that seem to be mixed with gravel – definitely pick ax.

Anyway, I was talking about irrigation.  Because the soil is clay, the water either runs off from around the plant, especially the ones planted on the berms, or the water pools around the crown and roots, because it takes a long time for the clay to suck up the water.  Then the soil holds that water for a long time, which seems good, except that when it’s not holding water, it shrinks, desiccates and damages the root system, especially the little hairy roots that are actually the most important roots for water and nutrient uptake.
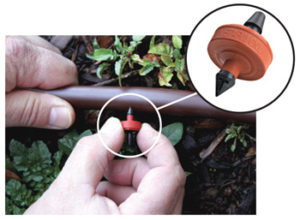
Irrigation dripper being pushed into the 1/2″ poly pipe

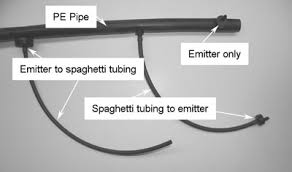
Every plant in my garden is on automatic drip system.  Each plant gets 1 or more drippers  (emitters) connected into the main 1/2″ poly pipe lines.  Those are the black lines you can see crisscrossing the berm in the background of the top picture.  After all the plants are connected to the 1/2″ line, the lines will be covered with mulch so you can’t see them and so they don’t heat and cool with the weather.  The 1/2″ poly pipe is spaced through the middle of the area to be irrigated, then you need to attach the smaller spaghetti lines to the 1/2″ pipe and add the dripper  to the end of the spaghetti line.  The spaghetti line can be as long as needed.
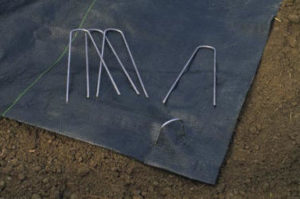
Fabric pins are used for holding down weed barrier, and also to pin the poly pipe down into the ground so it stays in place.

Then you pin the 1/2″ pipe down into the ground with landscaping pins, and sometimes you need to pin the spaghetti line down next to the plant as well so it doesn’t slip out of place.  The individual drippers on the plants allow me to control how much water each plant gets.  For example, on the main tree line, north berm, I have evergreen and deciduous trees on the same 1/2″ water line.  The evergreens  need more water than the deciduous trees so I put 2 gallon drippers on the evergreens and 1 gallon drippers on the deciduous; all on the same irrigation line.  So if this irrigation line runs for 1/2 hour, I know that each 2 gallon dripper delivers 1 gallon of water to the evergreen trees and each 1 gallon dripper delivers 1/2 gallon of water to each deciduous tree.  Depending on the size of the tree, I can calculate how much water the tree needs and add drippers to the 1/2″ line as the tree matures.
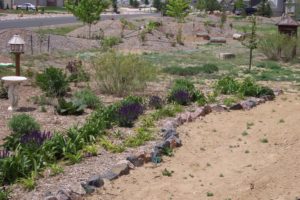
Soo much going on in the willow garden

On the south berm, the 1/2″ water lines are feeding a combination of perennials, shrubs and trees.

In the center of the garden, one line feeds the Linden tree, the cupola willows and bulb garden, and the row of dwarf Alberta spruces.
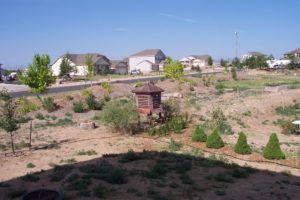
Irrigation lines from the Linden tree, to the cupola bulb garden and over to the dwarf alberta spruces

Each irrigation line, 1/2″ black poly pipe, is connected to a 2″ PVC main line.  These main lines are connected into the valve boxes.  Each valve box has up to 6 valves.  We have 9 valve boxes installed throughout the garden, with 35 main lines operating from these 9 boxes.  And yes, I have a chart that tells us what plants or section of the garden is being fed by which valve, and how long that valve runs for.
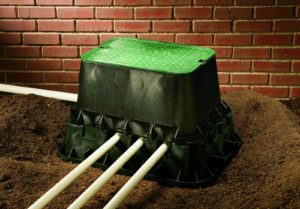
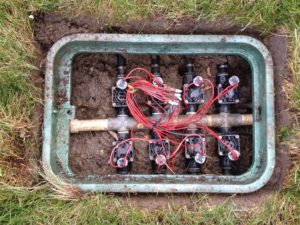
Main lines running into the valve box. these lines would all be underground, 12-18″
The individual valves inside the valve box


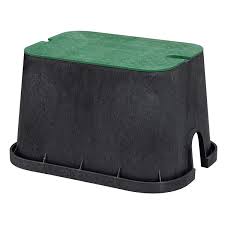
Valve box installed into the ground
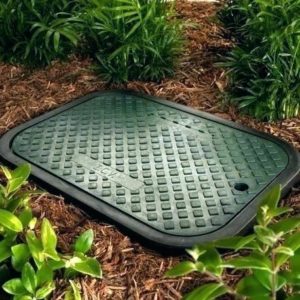
Valve box cover


You can click on the link below to see what the watering schedule looks like, if you’re interested.  But these are just some of the details that are going on behind the scenes in any large scale garden.
watering schedule

Blessings

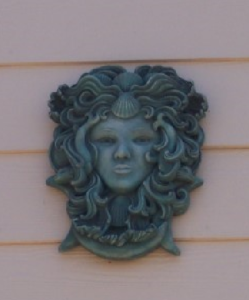
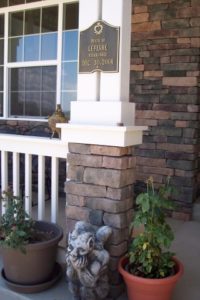
Consecration plaque

When we purchased the land for our home, we blessed it prior to the first hole being dug.  We called upon the spirits of the land to ask permission to build here, and we asked for them to lend their energies and attention so the construction would go gracefully and  according to schedule, which it did.

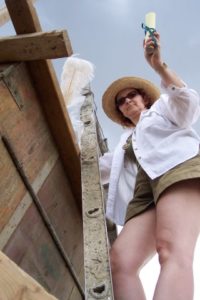
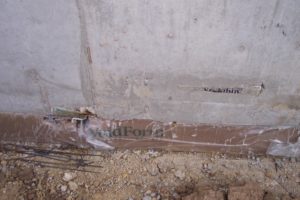
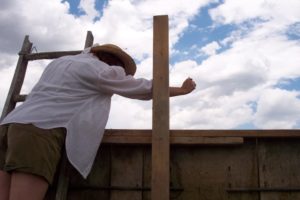
I blessed every inch of the foundation, leaving specific blessings, stones, and mojo bags in each wall, according to the use of the rooms which would be contained within the walls.  I did this blessing the day the concrete was poured, while the big trucks were on their way to the site.  The contractor was nervous about the timing, but with the help of the foundation crew moving the ladders around for me, I got it done in time.  Concrete won’t wait!

Blessing the foundations

The musical score and money poking through the foundation after the concrete hardened

This is the main altar and offering to the house. It was buried in the absolute center of the house, 2 feet down, placed in a waterproof container.

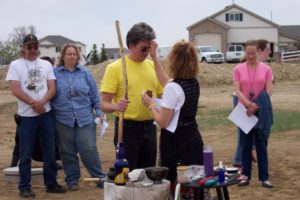
Once the house was built, my friends came to assist Brian and I with the blessing of the house and property.  It was a momentous occasion!  There were many tears and much laughter, because everyone knew how hard we had worked for this, and that this would be our forever home.

We blessed every inch of the property, and made offerings to the land spirits and elemental energies.

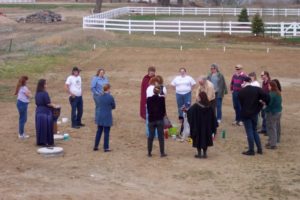
Gathering in the center of the back yard to call in Deity to bless and consecrate this property.

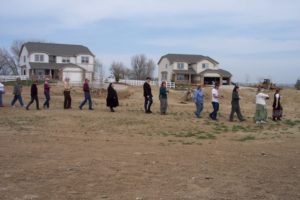
Procession around the property, blessing as we go.

the elemental spirits and guardians were called in at each of the 4 cardinal points of the property. Offerings were buried.

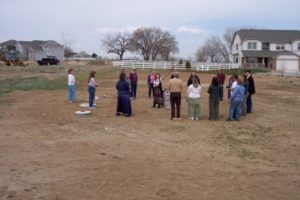
Casting Circle

Recognizing Brian as Master of this property and home.

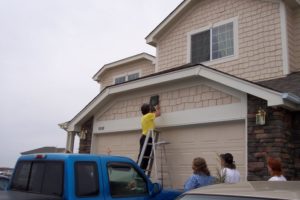
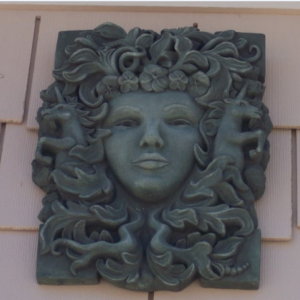
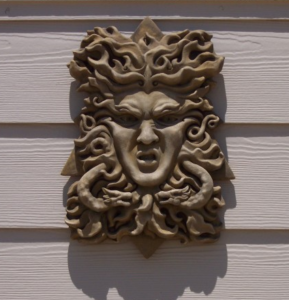
Installing the Elemental guardians on the outside of the house, east-south-west-north

Eastern Guardian of Air

Southern Guardian of Fire

Western Guardian of Water

Northern guardian of Earth
The house dedication. Buried in the front door foundation
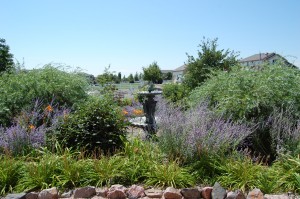
We blessed every room in the house, and set the intention and purpose for that room.  We blessed every pipe and electrical source and appliance, we blessed and warded all windows and doors.

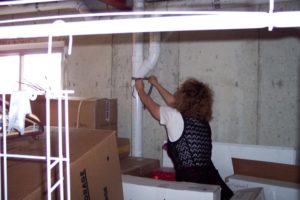
Blessing the plumbing

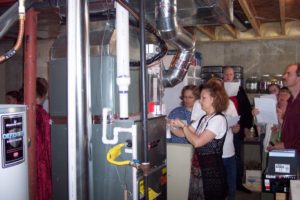
Blessing the furnace

Placing the window wards
A little Scriabin

Everyone insisted that I play something on the piano, as a way to finish the blessing ritual, and bring music into the home.  I played a Scriabin Prelude, and then we all celebrated, shared our friendship, ate some good food, and some of us just took a nap!

Our High Priest, Robin Vinehall, thoroughly worn out.
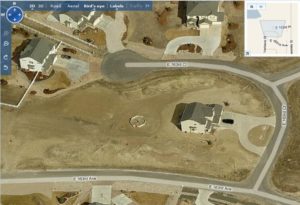
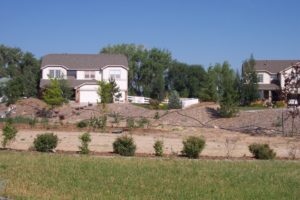
Fall of 2005. Google view.

Vegetable Garden


In early spring of 2014 I decided to take on vegetable gardening.  I was really scared I wouldn’t be able to figure out how to grow vegetables.  It all seemed very daunting.  And there was this weird sense of responsibility.  Like, what if all the seeds died?  I killed food?  It’s one thing to kill a flower, but to kill food?

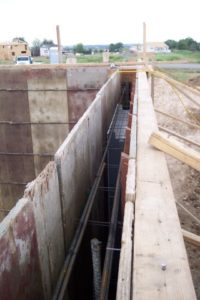
digging the foundation trench, and adding gravel
Adding weed barrier for what will be the walkway between the herb garden and the vege raised beds


Food plants are special.   They hold the energy of life in them in a different way from flowers, or shrubs and trees.  I could feel that energy when I went to the store to buy the seeds, and held the seed package in my hands.  “Plant me,” they said, “I will feed you.”

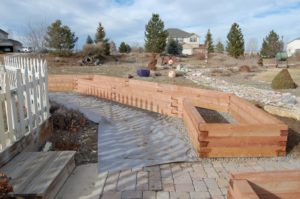
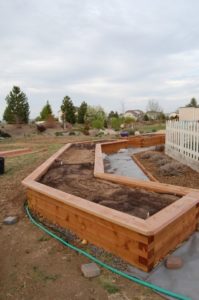
First row installed. the hose sticking out the end is actually irrigation pipe, which is being laid into the beds as they are built

While we were building the vegetable beds, I was organizing the seeds, reading my books and figuring out which seeds want to be planted next to which other seeds.  When to plant the seeds, how deep to plant the seeds, how far apart.  OMG – this seems really complicated!

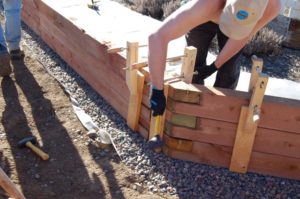
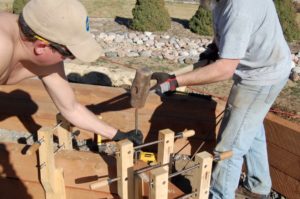
Meanwhile, Brian and Jester are busy doing the hard work of drilling holes in the bed joints, all the way down to the ground, and then securing the joint with clamps and pounding the 3/8″ rebar through the holes and 12″ into the ground below.  The boxes are made with 3 levels high of 6×6 cedar.  These walls are NOT going to move.

Brian, making sure everything is level and plum
Brian and Jester clamping and pounding in the rebar.


Finished beds.

Completed bed
Brian, looking like a garden gnome


I had to post this picture of Brian.  I saw him standing there taking a break and nearly fell over laughing.  So I made him pose for a picture.  He’s now my official garden gnome.

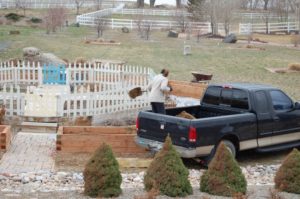
Filling the beds was back breaking work.  6 pickup truck loads of soil for each of the three beds.  I did one bed per day.

adding soil
Soil is in!


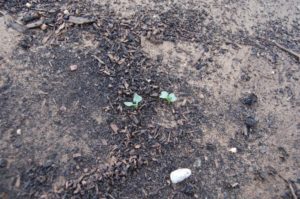
first seedlings sprouting – soo excited!


I was both excited and scared to death when the first seedlings popped up.  They’re growing!  they’re actually growing!  Believe it or not, I have never grown anything from a seed.  I buy all my plants from the store, or get them from a friend, already growing in pots.  So this whole vegetable garden thing took all my courage.  What was I going to tell my husband if I couldn’t figure out how to grow vegetables after all the work he and Jester put into building this glorious garden?!?  And how could I consider myself a gardener if I couldn’t grow something from seed?  My whole gardening persona was on the line.  But after much helicoptering, blessings, chanting, finger crossing, covering and uncovering the seedlings through the early frost period (up through May), they actually grew.

all the beds are done, planted and seeds are growing. We added 6 ground level beds to the north to plant squash, pumpkins and gourds.

South Willow Garden

February 10-12, 2015 Wednesday-Friday

The south willow garden is overgrown.  The willows keep spreading out taking over more and more of this space, yes I know – they ARE willows and that’s what willows do.  When we first moved into this house 11 years ago, the contractor scraped the lot and smoothed it all out – I guess they thought that would make it look pretty.  Actually it was a house sitting in the middle of a dirt field.  Not my idea of pretty.  We bought the house in December and started first thing in the spring purchasing the specimen trees that would eventually anchor the whole landscaping plan.    100_0875

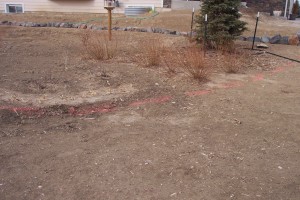
Then all of a sudden things started to grow on the south side of the house.  Apparently there used to be an underground irrigation pipe that cut across my yard diagonally from the reservoir ponds to the north/west of the subdivision, across the street, and then across town to some farm at the east edge of Brighton.  Really.   And the willows put their roots down to tap that water source.  So first thing in the spring, after being scraped off level to the ground, they began to work their way back up.  I decided to honor their tenacity and let them stay.  (The orange paint on the ground is the outline of what will be the edge of the lawn.)100_1771

So now the willows get trimmed back to half their height about every 3 years and every year I dig out their shoots that keep spreading out and trying to take over the whole bed.  They’re worth it though, they provide good screening all year round and the birds use them for shelter as they visit the bird feeders.South willow garden in summer (2014)

EVERYTHING in this garden needs to be trimmed or cleaned up, the willows, the marshmallow, the day lilies, iris, elderberry, sand cherries, Russian sage and viburnums.  The rabbits have completely destroyed the quince.  (SAD FACE)  They must be particularly tasty because they ate them right down to the ground.  I really wanted their coral colored flowers to balance all the purple in the Russian sage.  I’ll try again next time they go on sale.