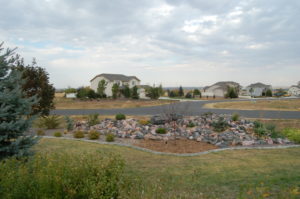
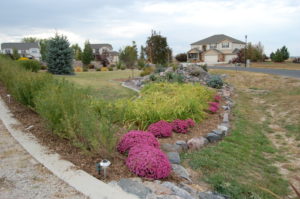
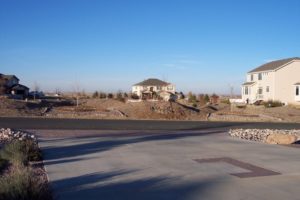
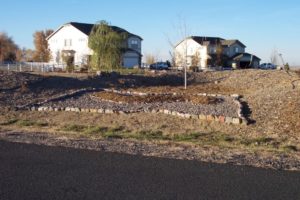
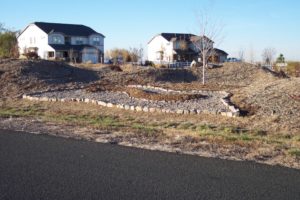
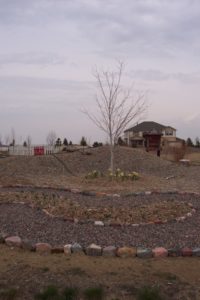
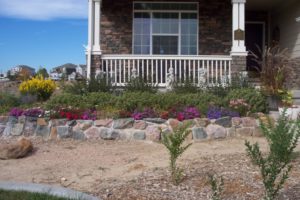
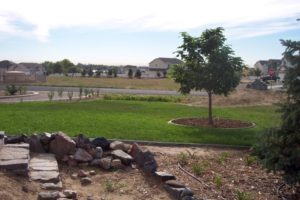
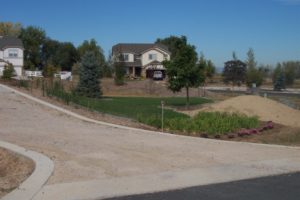
We’ve been wanting to do this project for 10 years, but there has always been something more important going on, or a bigger project I was more invested in. 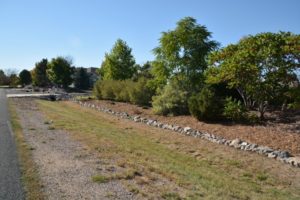 Now that’s it’s finished, I can’t believe we waited this long, the difference is amazing. To be able to define the space at the bottom of the exterior berms from the edges of the drainage ditches surrounding the property makes such a difference.
As I laid out the 800 yards of hose, rope, electrical cord and whatever else I could find to set the straight lines so I could paint where the edge was going to go, I realized that what is visually equal or straight from the viewpoint of the berm, is NOT straight from the viewpoint of the road.
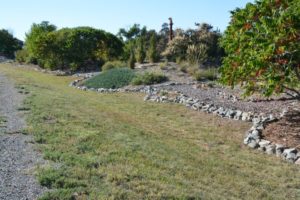
So I had to lay out the lines, according to what I thought looked good, or where the existing berm and mulched plantings ended, and then go stand on the street and take a look. Yikes! What a difference. I had to move the hoses, etc., to be in line with the edge of the straight line of the street, as viewed from the street, to get it to look good. This was really tedious, I had no idea it would be such a pain.
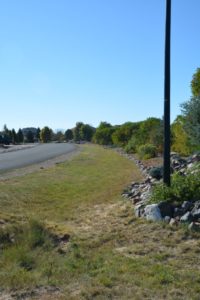
Then we laid 24″ width’s of weed barrier, double layer next to the lines for the rocks to sit on. I’m NOT gong to pull grass out from between 800 yards of rock! 12″ of the fabric ran up the berm to be tucked under the mulch, and then smaller fill rocks were added around the larger edging rocks to fill the gaps and hide the fabric at the ditch side of the edging.
This project used 25 tons of 8-12″ granite rip-rap. I had the truck drop 1/2 the pile in the south materials area and the other 1/2 had to be dropped in the street in the culdesac on the north side, so we had to do that side first (I didn’t want my neighbors to have to be driving around my rock pile for months).
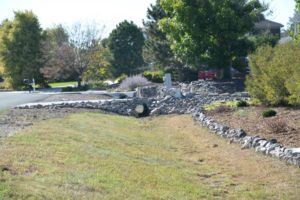
I had a 25% off materials coupon from Ewing Irrigation and Landscaping, as a “good customer” reward. Ha! they had no idea what was coming. When I told the lady behind the counter I needed 25 tons of rip-rap AND I have a 25% off coupon, she had to call corporate to get an OK, but I got that OK! but I got my 25 tons for $525.00.
For this project I used labor from my friend Jester Martin, at http://nadurragardens.com/. He sent me over a laborer, Thomas, to do the heavy lifting and the tedious job of measuring, cutting and placing the weed barrier down. Thomas dug out the largest rocks from both piles and spaced them equally along the entire length of the fabric border on the north and south sides. Between laying the fabric and pulling out the big stones, this took 3 days. After that phase was complete, I and my friend Sherry (whom I also paid, but not as much as the guy from Nadurra) began to fill in the spaces between the largest rocks with the next biggest rocks, tucking in the smaller 4″ and 2″ rocks to make everything tight and to fill in the gaps.
(Yes, 2″rocks. I bought 8-12″ rip-rap and I had probably a full ton of 2-4″ pieces. I was really pissed! I actually had to go back to the yard and hand pull another 2 tons of rocks, 3 loads in my pick up, to finish the job, because at least 1/3 of the pile was undersized. They refused to offer me a refund or exchange or replacement. I will never buy materials from Ewing again.) Wish I had taken pics of the piles though – they were impressive!
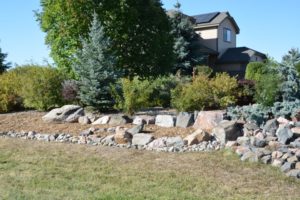
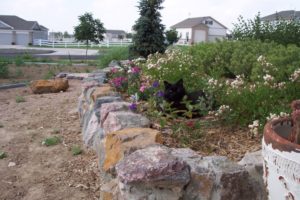
Years ago, my now-moved-away-neighbor Roy, brought me this awesome snake head shaped rock and placed it at the end of the front/south rock berm. It’s about 3′ long and 18″ high and 24″ wide. I had a few large granite stones (18″ x 12″) in a pile in the back yard waiting for the right thing to do with them. So Sherry and I wrangled them up on the heavy duty hand cart and drug them one by one across the yard, out the back driveway, up the street to the east end of the property, down the ditch and then back up the other side and set them in place, one by one. We connected the rock berm to the head of the snake and then incorporated the head of the snake into the rock edging. We turned the snakes tail around in a bending pattern, propping the last stone up in the air like the tip of his tail.
We also had to drag over a few of the largest stones up out of the ditch around the drainage pipe that runs under street. These stones had to be dug up out of the ground where they had been sitting, and the rolled, flipping them over one side at a time, up the steep drainage pit that they were set into, and then towards the snake about 20′ away. People must have thought we were insane. We’d haul one stone, flipping it over and over, get it in place with sticks and crowbars and lots of grunting and then fall into the grass of the ditch and lay there panting and sweating for 10 minutes. Then we’d get up and go fetch the next rock. We got all 11 rocks in place in one 3 hours session.
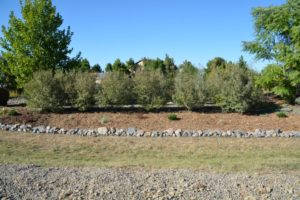
Now we have a beautiful straight, decorative edge all the way around the property. Thank you Jester, Thomas, Sherry and me!
